
To design custom polo shirts step by step: prepare clean vector artwork, choose your polo and fit (offer distinct men's and women's, default to a balanced regular cut), pick embroidery for the chest mark and keep the back clean, match your colours to the fabric, approve a digital proof, then order. Ready-to-wear runs from around 10 pieces, fully custom from around 150. On Sunday you can generate an on-brand polo design with live pricing in about 30 seconds before any of this.
Most polo projects go wrong because they start with price and a logo file, then hope. The better approach is a clear order of decisions. Each step below removes a way the polo could disappoint.
1. Prepare your artwork
Embroidery needs clean, simple artwork. Supply your logo as a vector file (.svg, .ai or .eps) so it can be scaled and digitised without losing edges. Fine gradients and tiny text rarely embroider well, so simplify where you can. A one or two colour mark almost always reads better on a polo than a complex full-colour logo.
2. Choose the polo and fit
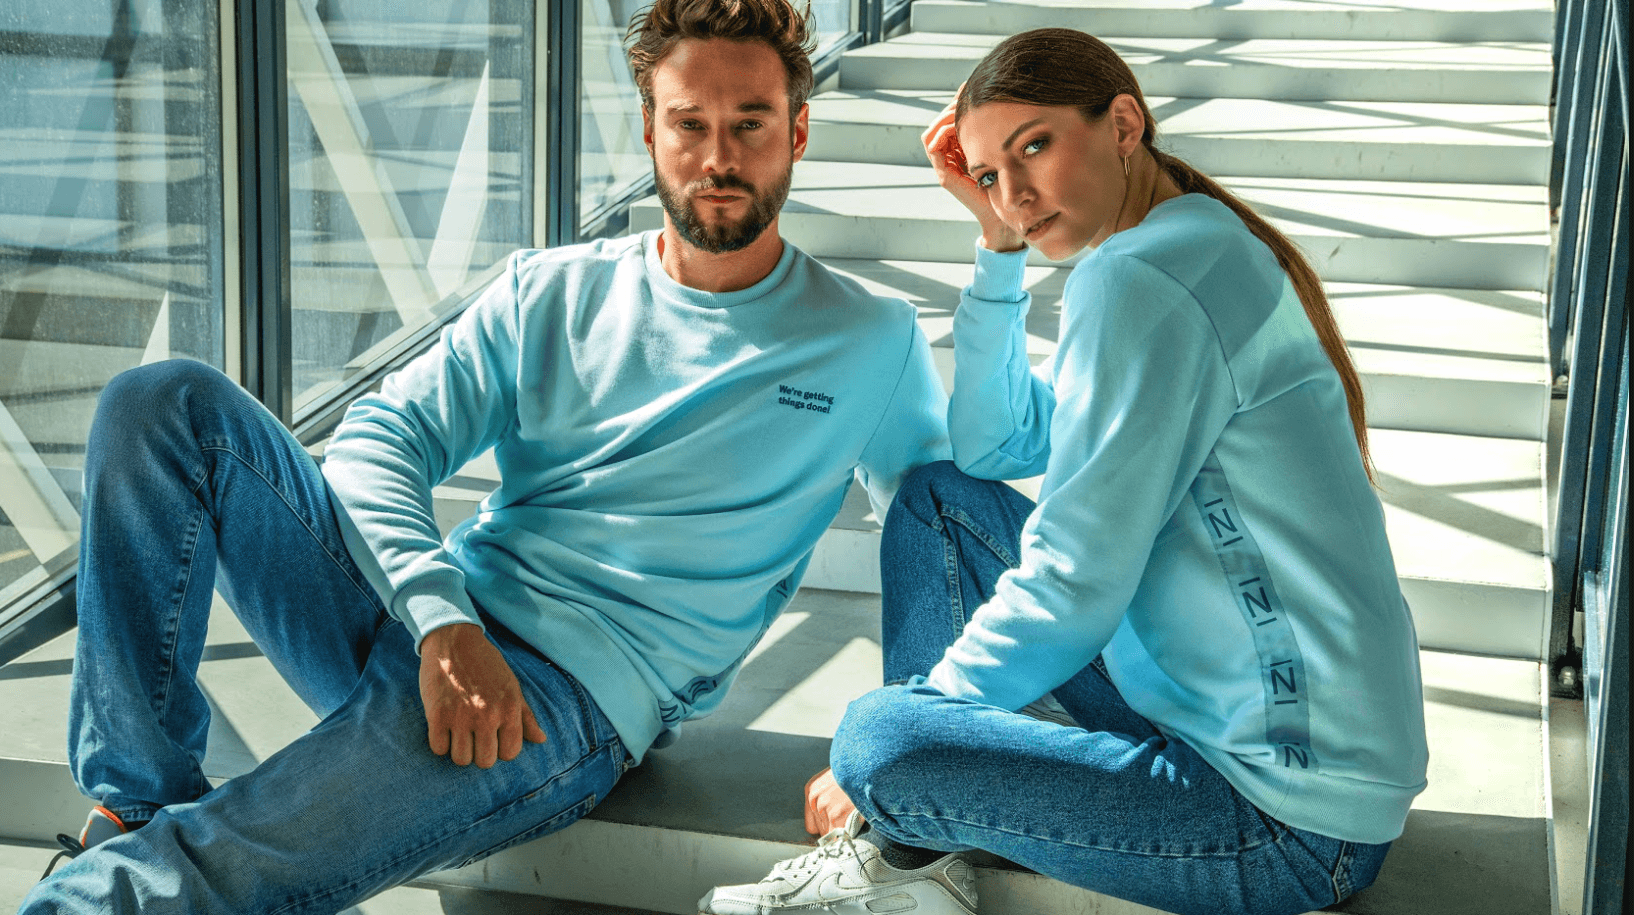
Pick the fabric first: piqué cotton for most business use, a technical or polyester blend only for genuinely active contexts like golf or sport. Then fit. Offer distinct men's and women's cuts wherever you can. They need not be dramatically different, but a considered women's shape stops a mixed team looking like everyone is in the men's size. Default to a balanced regular fit, neither overly slim nor oversized. Very slim polos cause complaints, oversized ones look untidy.
Start with a quality polo in a balanced fit. The garment carries the design, so a structured collar and a fabric that holds its shape matter more than any decoration choice.
3. Decoration and placement
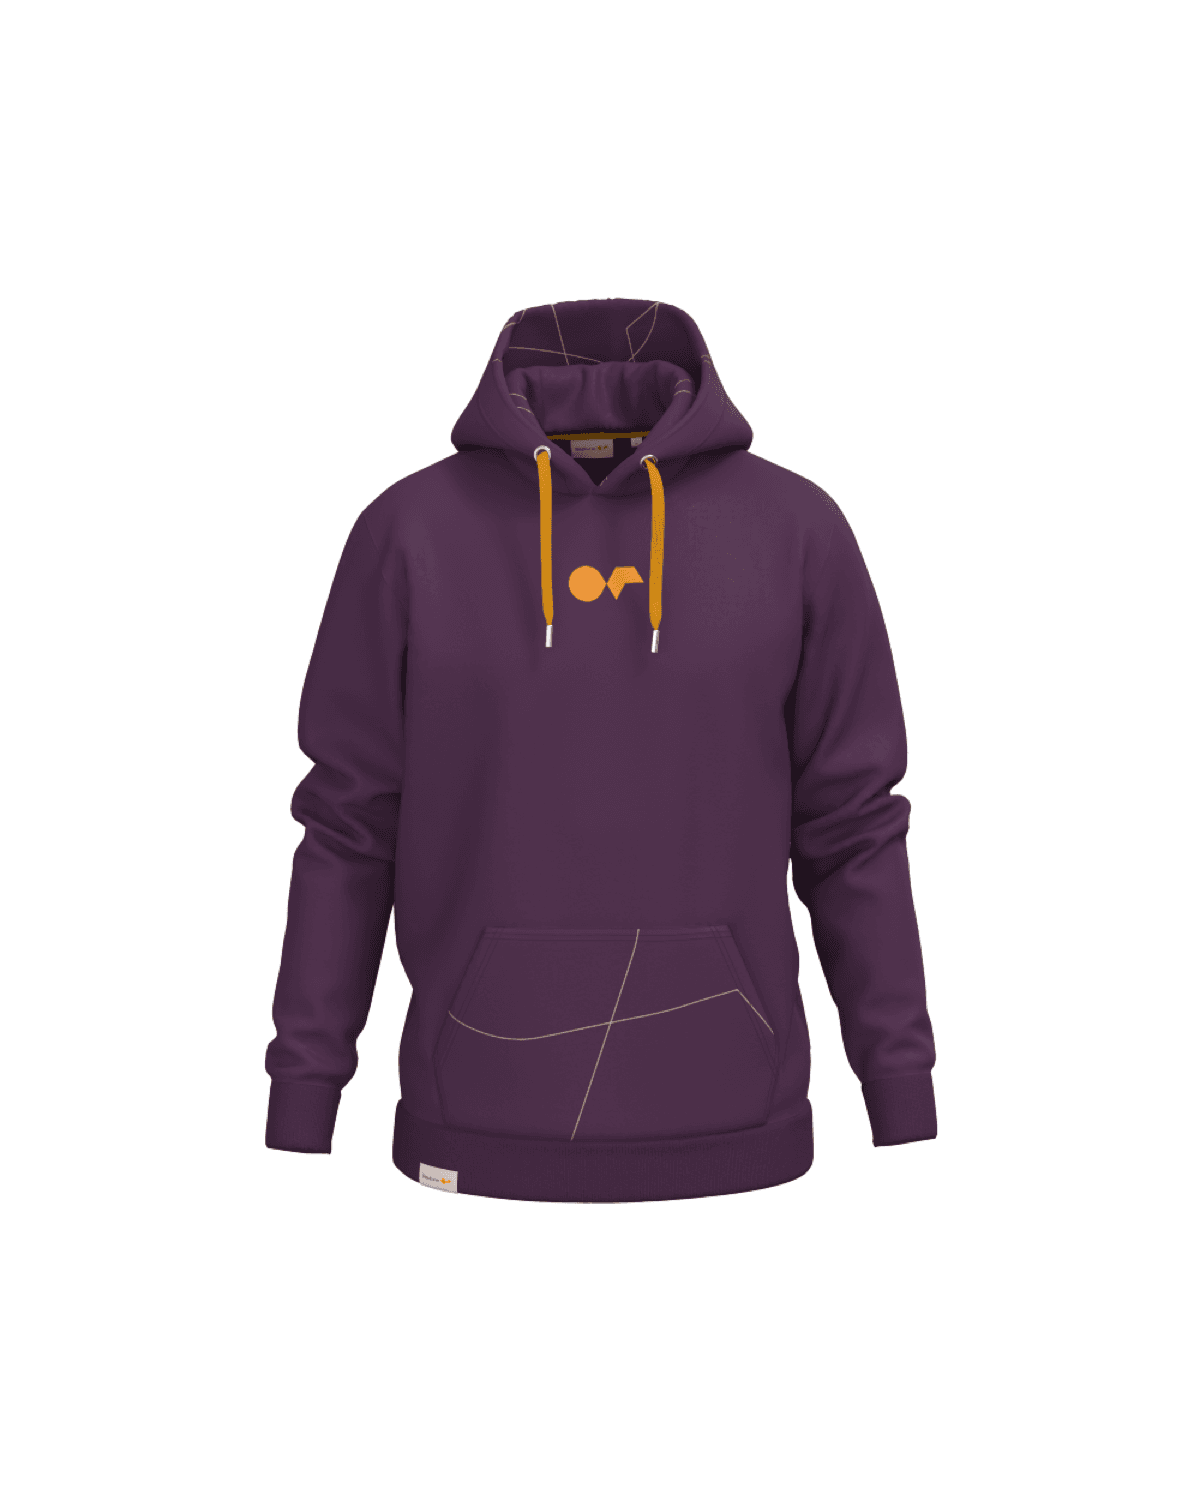
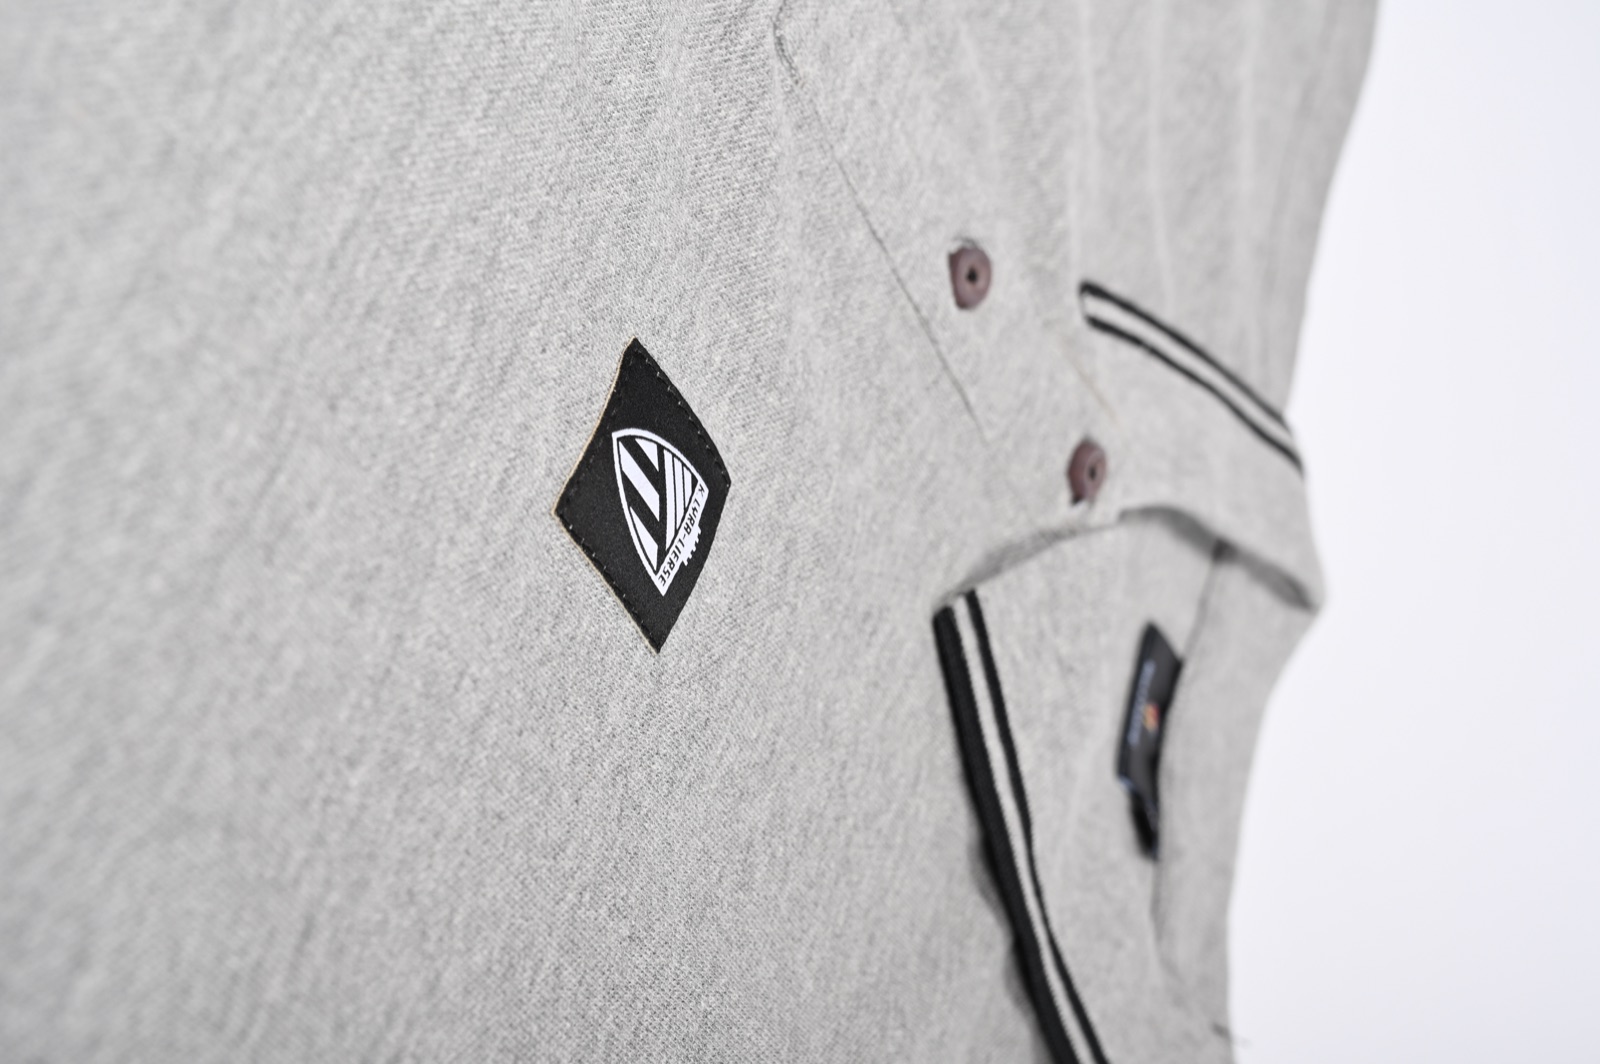
On a polo, embroidery almost always wins. Piqué has a visible texture, so screen printing is less crisp than on a tee and flex printing looks like a plastic slab on the fabric. Make a small, restrained chest embroidery your hero mark. An oversized chest logo reads as promotional, not professional. Keep the back clean, a big back print feels like event promo or workwear advertising. Add at most one or two subtle details: a small sleeve embroidery, a woven label near the hem, or branded buttons.
4. Match your colours
Polos are flexible on colour, so decide on purpose. Navy and classic tones, black and white, bright brand colours and soft neutrals all work when they match your identity and environment. Match thread and garment colours to your brand, and check how they look on the actual fabric, not just on screen. Fully custom orders unlock Pantone-matched colours and custom panels, which is worth it at scale.

Check colour on the fabric, not the screen. Brand colour reads differently on textured piqué, so preview it on the real garment before you commit a full run.
5. Proof and approve
Before production, approve a digital proof that shows the embroidery placement, size and colours on your chosen polo. This is the moment to catch a logo that sits too high, a mark that is too large, or a thread colour that fights the fabric. A proof costs nothing to change. A finished run does not.
The finished polo should match the approved proof exactly. Sign off the embroidery placement, size and colour on the real garment before any production run begins.
6. Order and reorder
Quantity sets the route. Ready-to-wear polos plus premium decoration start from around 10 pieces, which suits small teams, booths and pilots. Fully custom polos start from around 150, where Pantone colours, custom panels and sewn construction become possible. For a recurring need, set up easy reorders so new hires get the same polo without redesigning anything.
The 30-second design hook
You can skip the slow first stage entirely. The old process meant uploading a logo, writing a brief, waiting for a mock-up, and only then learning whether the design was feasible or affordable. On Sunday it works the other way around.
Open a polo product page and the platform uses your existing brand data to generate on-brand design directions with live pricing in about 30 seconds. You immediately see what the polo could look like, which decoration options are possible, and the approximate price range. Then pick a concept, request a variation, or use it as a custom starting point. Preview your mark first in the free polo mockup generator, browse custom polos, or see how it works.
How to design custom polo shirts: questions answered
How do I design custom polo shirts step by step?
Prepare clean vector artwork, choose your polo and fit (offer distinct men's and women's, default to a balanced regular cut), pick embroidery for a restrained chest mark and keep the back clean, match your colours to the fabric, approve a digital proof, then order. Ready-to-wear runs from around 10 pieces, fully custom from around 150.
What file format do I need for polo embroidery?
A vector file, ideally .svg, .ai or .eps, so the logo can be scaled and digitised without losing edges. Embroidery favours simple, one or two colour marks. Fine gradients and very small text rarely embroider cleanly, so simplify the artwork where you can before submitting it.
Where should the logo go and how big should it be?
Make a small, restrained embroidery on the left chest your hero mark. An oversized chest logo reads as promotional rather than professional. Keep the back clean, since a large back print feels like event promo or workwear. Add at most one or two subtle details, such as a small sleeve embroidery or a hem label.
Should I offer separate men's and women's polo fits?
Yes, wherever you can. Polo fabric stretches less than a tee, so fit matters more. Distinct men's and women's fits keep a mixed team coordinated. They need not be dramatically different, but a considered women's shape helps. For broad distribution, a balanced regular cut is the most inclusive default.
How long does it take to design a custom polo?
The design itself can take about 30 seconds on Sunday. Opening a polo product page generates on-brand design directions from your brand data, with live pricing and decoration options. After you approve a digital proof, production and delivery depend on the polo, quantity and decoration, shown transparently before you order.
What is the minimum order to design my own polos?
Ready-to-wear polos with premium decoration start from around 10 pieces, which suits small teams, booths and pilots. Fully custom polos start from around 150, where Pantone colours, custom panels, sewn construction and special trims become possible. For smaller teams, ready-to-wear plus strong decoration is the fastest, most sensible route.
Keep reading: custom polo shirts
Design your polo in 30 seconds
Create a free account and generate an on-brand polo with restrained embroidery, men's and women's fit, and live pricing.
Get free designs