
To design custom sportswear, start with the activity and the brand, then build the artwork for full-colour sublimation. The key rule is the production order: the fabric is sublimated first, then the panels are cut, then the garment is sewn. That is what keeps patterns continuous and stops white cracks at the seams. From there you match brand colours, add names and numbers, choose decoration that suits lightweight kit, add reflective detail where needed, and proof before you order.
Step 1: start with the activity and the brand
Before any artwork, answer two questions. What is the activity, and how hard will people work in the kit? A casual sports day, a marathon team, a company cycling ride and a golf day all want different garments, fabrics and fits. Getting this right first stops you designing a beautiful jersey for the wrong use.
Then decide how far you want brand expression to go. Off-the-shelf, a logo on a stock garment, is fast and fine for small campaigns, but it means co-branding with the sportswear maker and limited control of colour and pattern. Fully custom means the whole garment is designed in your brand. If colours, gradients, patterns, names and numbers matter, go fully custom.
Step 2: build the artwork for sublimation
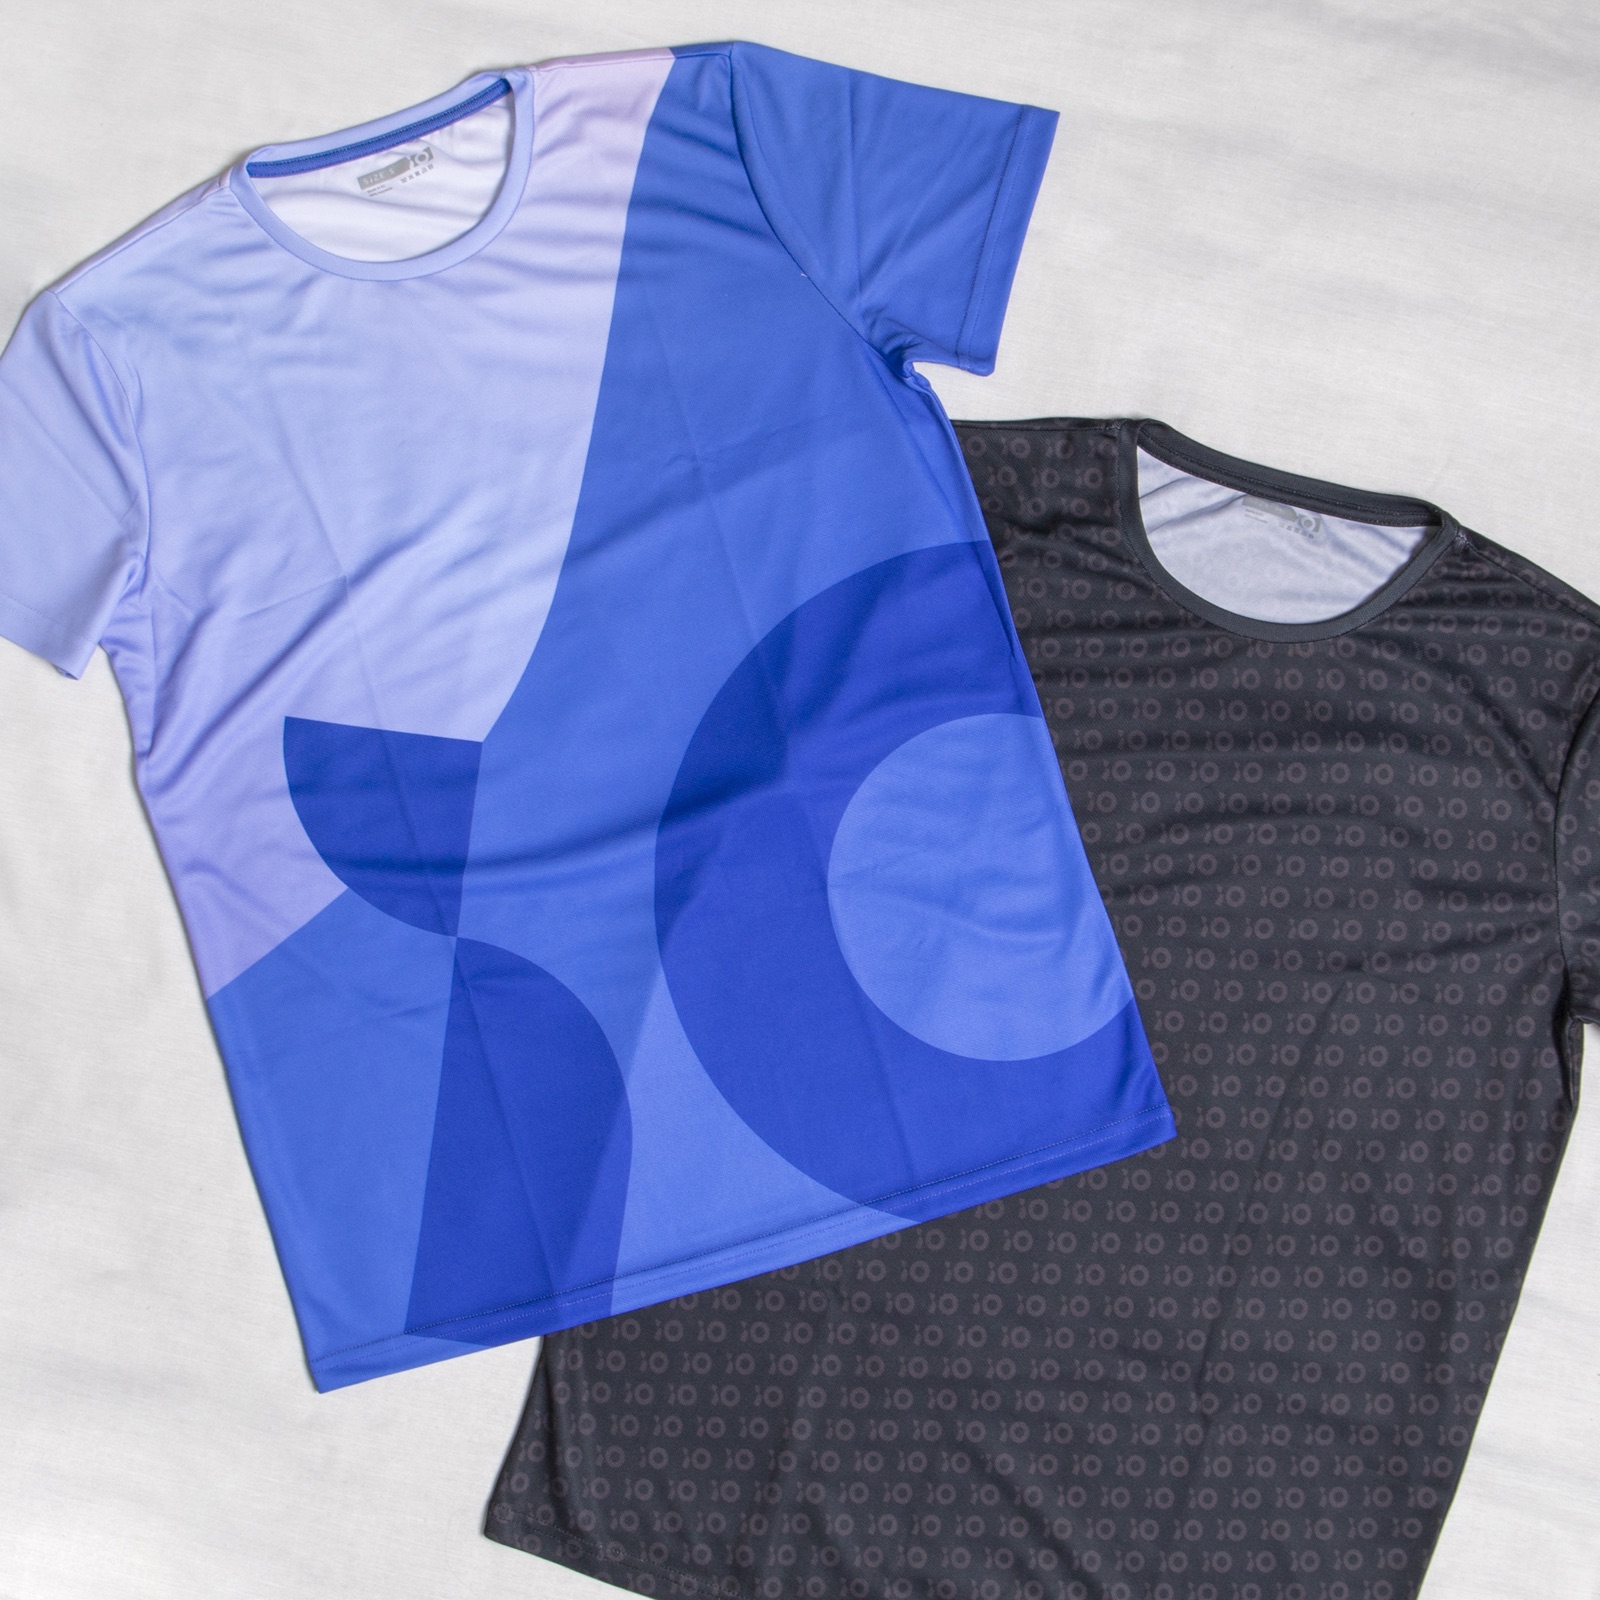
Fully custom sportswear is made with full-colour sublimation, so design like the whole garment is your canvas. Unlike separate print placements, sublimation lets you run colour, gradients and patterns across the entire surface with no per-colour or per-position charge. So do not limit yourself to a chest logo, think front, back, sides, sleeves, collar and cuffs as one continuous design.
Work in vector where you can, keep logos and text as sharp elements, and plan how the pattern flows across panels. The cleanest way to start is to preview your idea on the actual garment shape in the free sportswear mockup generator before you commit.
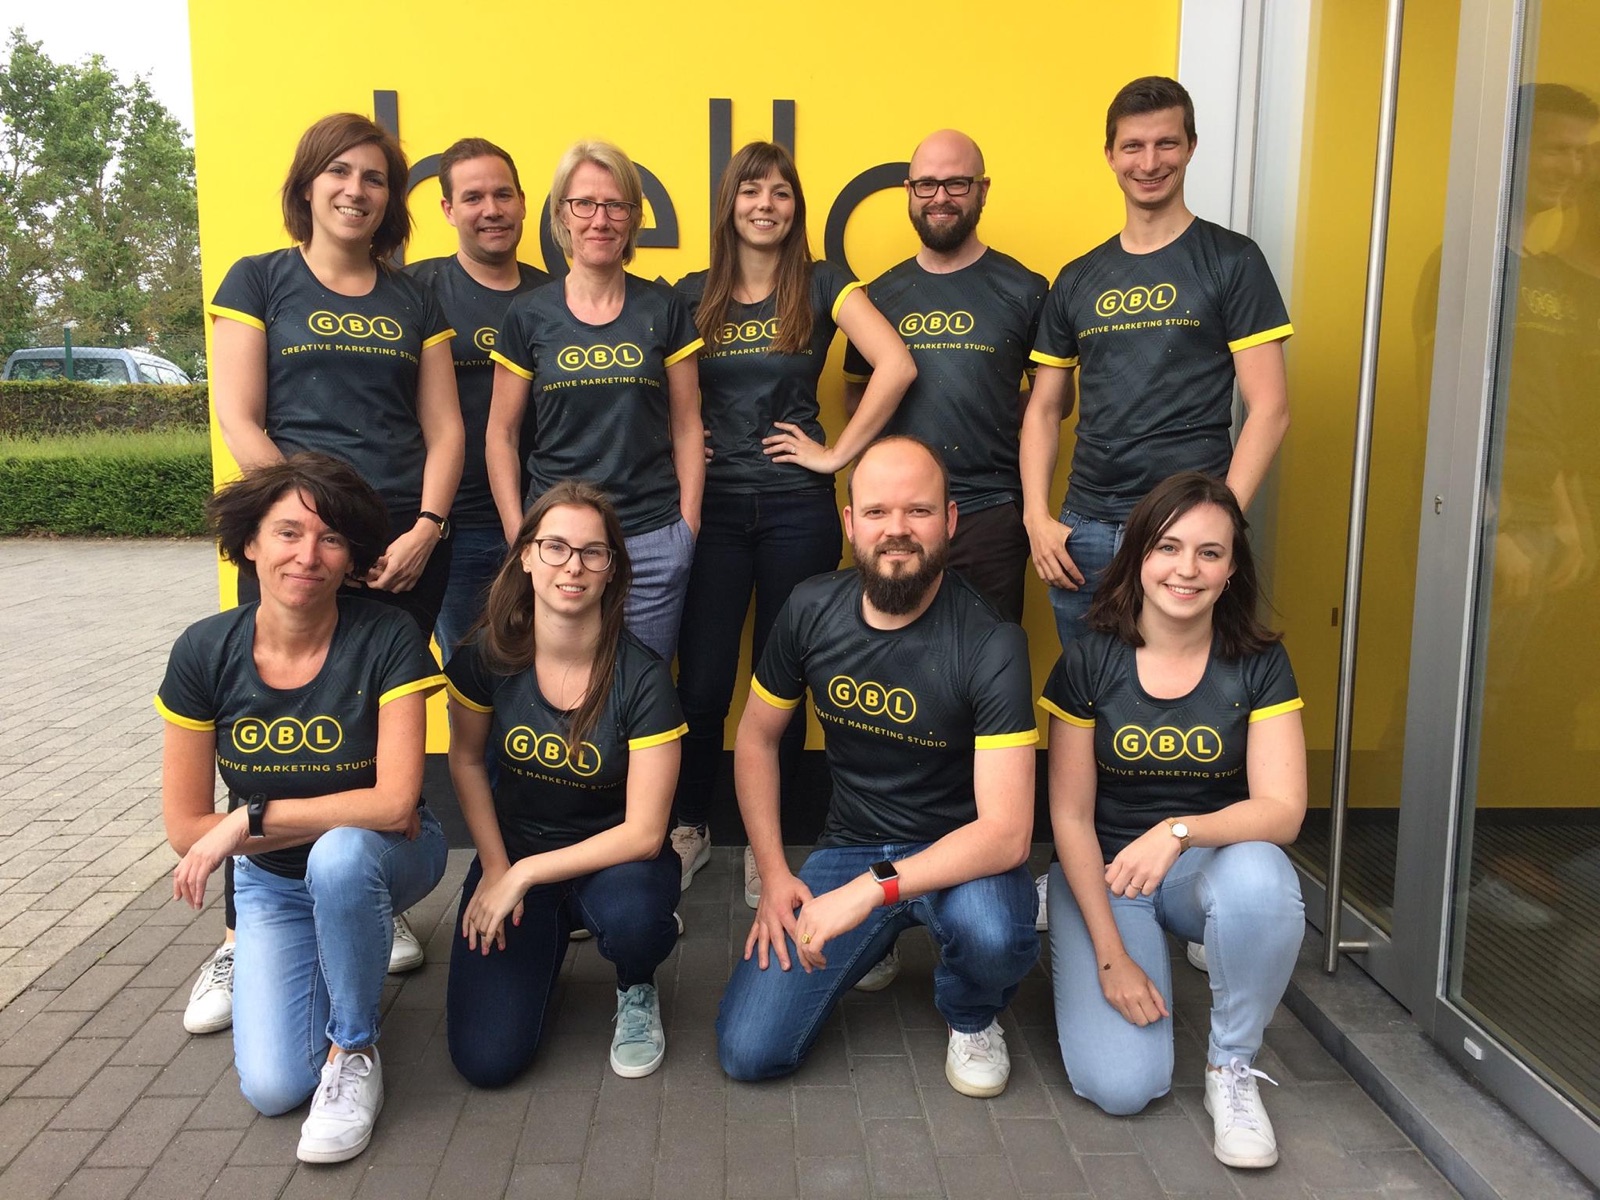
Design the whole surface, not a single placement. With sublimation, a full-garment pattern costs no more than a plain logo.
Step 3: match your brand colours
Sportswear is one of the few categories where you can hold your exact brand colours across a full garment, so use it. Supply your brand palette with precise colour references rather than approximations, and confirm how they will reproduce on the chosen fabric. Sublimation is excellent at colour, but a fabric and a screen are different surfaces, so a proof stage matters here.
Commit to the palette. The strongest kit reads as unmistakably one company because it owns its colours across the whole garment, not because it added a small logo to a neutral base. Browse the fabric and colour options in the catalog.
Step 4: the sublimate, cut, sew order that matters
This is the single most important thing to understand about producing custom sportswear, and the detail that separates premium kit from cheap kit. The correct order is: sublimate the fabric first, then cut the panels, then sew the garment.
Why it matters: printing a finished garment afterwards leaves white cracks and gaps at seams, folds and stretch points, because the ink cannot reach into the joins. Sublimating the flat fabric before it is cut and sewn means the pattern continues cleanly across the whole garment, with no white lines at the seams. When you brief a supplier, this is the one production question to confirm.
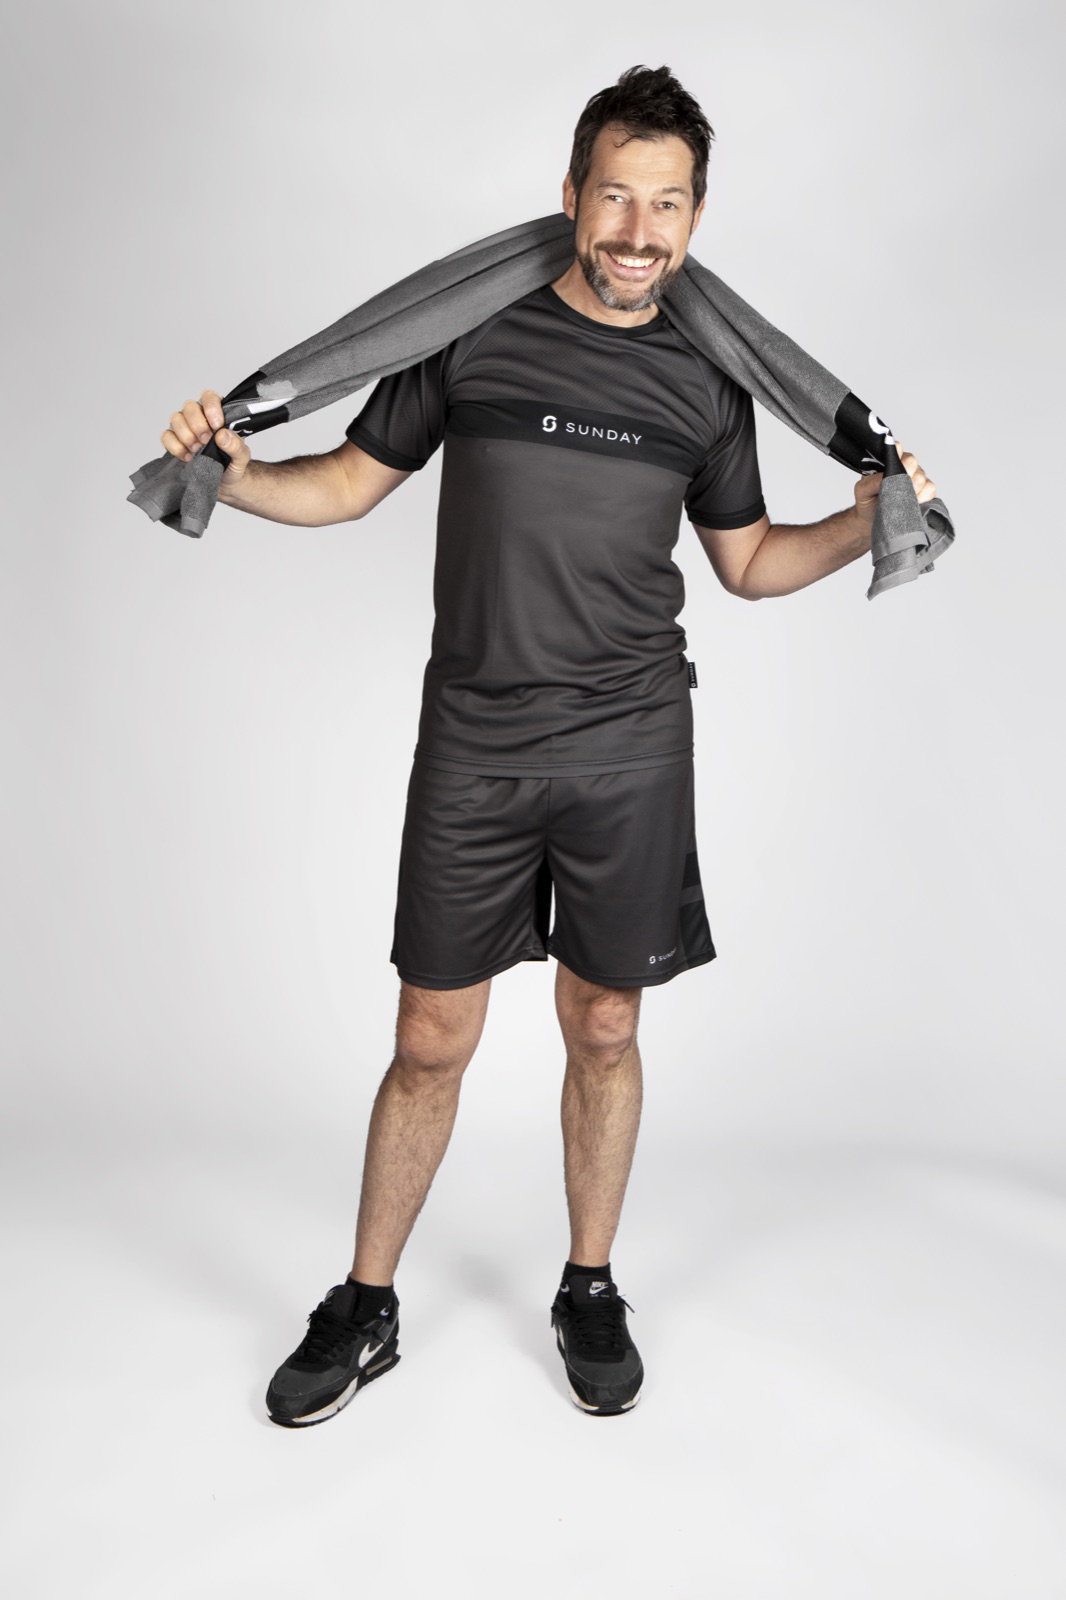
Names and numbers are designed in as part of the artwork, so they are sublimated into the fabric rather than added as a separate cracking layer.
Step 5: add names and numbers
Personalisation is where a kit stops being apparel and starts being a team. Names, numbers, departments, team names, event names, route references and country or office IDs create a stronger connection and a real-team feeling. Because they are part of the sublimated design, they are durable rather than a peel-prone add-on.
It adds a little cost, but it significantly lifts the perceived value of the kit and the pride people take in wearing it. For a running team or a cycling group especially, a name on the back turns a uniform into something personal.
Step 6: choose the right decoration
For fully custom kit, sublimation is the main technique and does most of the work. But some elements need to sit on top of the garment, and here the choice matters for performance.
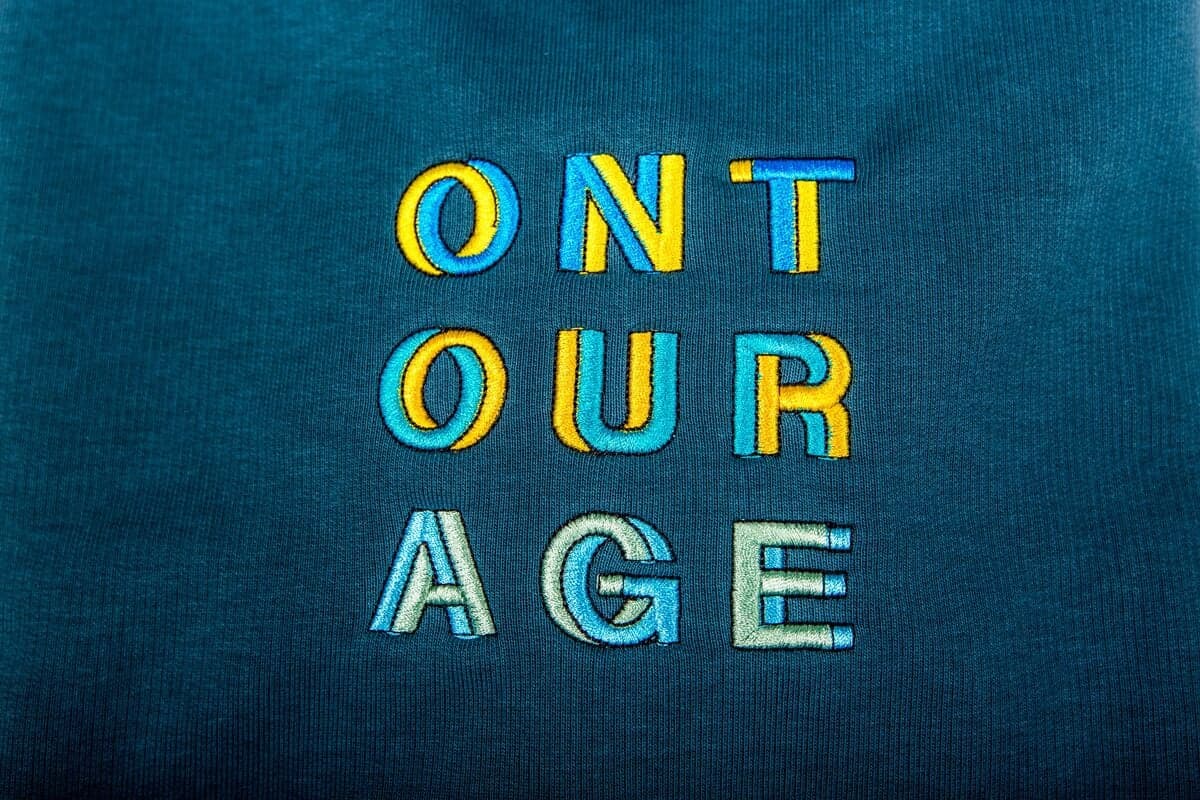
- Avoid embroidery on lightweight sportswear. It adds weight, reduces flexibility, can irritate the skin during movement and interferes with technical performance.
- Use lightweight, performance-friendly methods for raised marks. Silicone patches, lightweight badges and performance-compatible transfers.
- Add reflective elements for low light. Reflective prints matter for running and cycling in early mornings, evenings and winter.
- Print for ready-to-wear technical apparel. Where a garment is not fully custom, a print keeps things simple.
Reflective detail and lightweight badges keep decoration on top of the garment without the weight and stiffness of embroidery.
Step 7: proof, order and deliver
Before production, check a proof: colours, pattern alignment across panels, logo and text placement, and names and numbers spelled correctly. Then place the order. Minimums start from around 10, with roughly 25 for many complete kits, and a full-surface design carries no per-colour charge, so complexity does not push the price the way it would with separate print placements.
- Approve the proof: colours, pattern flow, placements, names and numbers.
- Confirm fabric, fit and technical level against the activity.
- Confirm the supplier sublimates before cutting and sewing.
- Place the order against your event date, allowing for the lead time.
- Plan distribution if the team is spread across offices or locations, using global distribution.
That is the whole path from idea to finished kit. If you want to compare it against how the wider platform works, see how it works and the custom sportswear range.
Keep reading: custom sportswear
Design your kit, step by step
Create a free account and preview your team kit, cycling jersey or running shirt in your colours with live pricing in 30 seconds.
Get free designsDesigning custom sportswear: questions answered
How do I design custom sportswear step by step?
Start with the activity and how hard people will work in the kit, then build the artwork for full-colour sublimation across the whole garment. Match your exact brand colours, confirm the supplier sublimates before cutting and sewing, add names and numbers, choose lightweight decoration that suits technical fabric, add reflective detail where needed, and approve a proof before you order. Minimums start from around 10 and a full-surface design carries no per-colour charge.
Why does the sublimate, cut, sew order matter?
Because printing a finished garment leaves white cracks and gaps at seams, folds and stretch points. Sublimating the flat fabric first, then cutting the panels and sewing the garment, means the pattern continues cleanly across the whole kit with no white lines at the seams. It is the main difference between premium sportswear and cheap kit that cracks the first time it stretches.
Can I match my exact brand colours on sportswear?
Yes. Sublimation is excellent at colour, so supply precise colour references rather than approximations and confirm how they reproduce on the chosen fabric. A proof stage matters because a screen and a fabric are different surfaces, but the whole point of fully custom kit is that you hold your exact colours across the entire garment.
Should I use embroidery on custom sportswear?
Not on lightweight sportswear. Embroidery adds weight, reduces flexibility, can irritate the skin during movement and interferes with technical performance. Use sublimation for the design, and where a mark needs to sit on top, use silicone patches, lightweight badges, reflective prints or performance-compatible transfers instead.
How do I add reflective detail?
Add reflective prints where the kit will be worn in low light, which mainly means running and cycling in early mornings, evenings and winter. Reflective elements are added as a performance-compatible layer rather than embroidery, so they do not add weight or stiffness to a technical garment.
What should I check on the proof before ordering?
Check the colours against your brand references, the pattern alignment across panels, the logo and text placements, and that every name and number is spelled and numbered correctly. Also confirm the fabric, fit and technical level suit the activity, and that the supplier sublimates before cutting and sewing.