To design custom water bottles step by step: choose the bottle and decoration for your use case, prepare clean vector artwork, set the print or engraving area, match your brand colours, approve a digital proof, then order from around 10 to 25 pieces. Engraving gives a durable single-tone finish; print carries full colour. Preview the design on the bottle before you approve, and keep the logo simple so it reads on a curved surface.
You do not need to be a designer to get a clean result. You need the right order of decisions. Work through the six steps below and you will avoid the common mistakes: an over-detailed logo, a finish that fights the design, and a proof skipped under deadline. To follow along live, open the free water bottle mockup generator.
-
Choose the bottle and finish
Design starts with the bottle, because the body and the finish shape what your artwork can do. Match the bottle to the job: plastic or Tritan for one-off events, aluminium or stainless steel for the office, a premium bottle when it is the gift. Then pick the finish. Laser engraving suits a subtle, durable single-tone mark. Printing suits colour and wrap-around artwork.
-
Prepare your artwork
Supply your logo as a clean vector file (SVG, EPS or PDF) so it scales without blur. Simplify it for a small, curved surface: drop fine gradients, hairline strokes and tiny taglines that will not survive at bottle size. One bold mark beats a busy lockup. If you only have a raster file, make sure it is high resolution before you start.
-
Set the decoration and placement
Decide where the design sits and how big it goes. A centred logo on the front is the safe default. A wrap is a bigger statement and needs one strong idea, not several. Keep clear of the seam and the threads. This is where engraving and print diverge: engraving renders in the bottle's surface tone, print carries your colours, so confirm the method now.
-
Match your brand colours
If you are printing, give exact brand colours as Pantone or hex references so the result matches your guidelines, not a near miss. Consider the bottle colour too: a white or metal body is the most versatile canvas. If you are engraving, there is no colour to match, but check how your mark reads in a single tone against that surface.
-
Proof and approve
Never skip the proof. Preview the design on the actual bottle to check proportions, placement and legibility, then approve the digital proof before production. A logo that looks great flat can shrink or distort on a curve, and the proof is where you catch it. This single step prevents almost every reorder.
-
Order, with MOQ and lead time
Order from around 10 to 25 pieces, which suits small teams and pilots. Efficiency improves around 50 to 100 units as the decoration setup cost spreads, though the base bottle price stays fairly stable across volumes. Confirm your lead time and ship date up front, especially for an event with a fixed date.
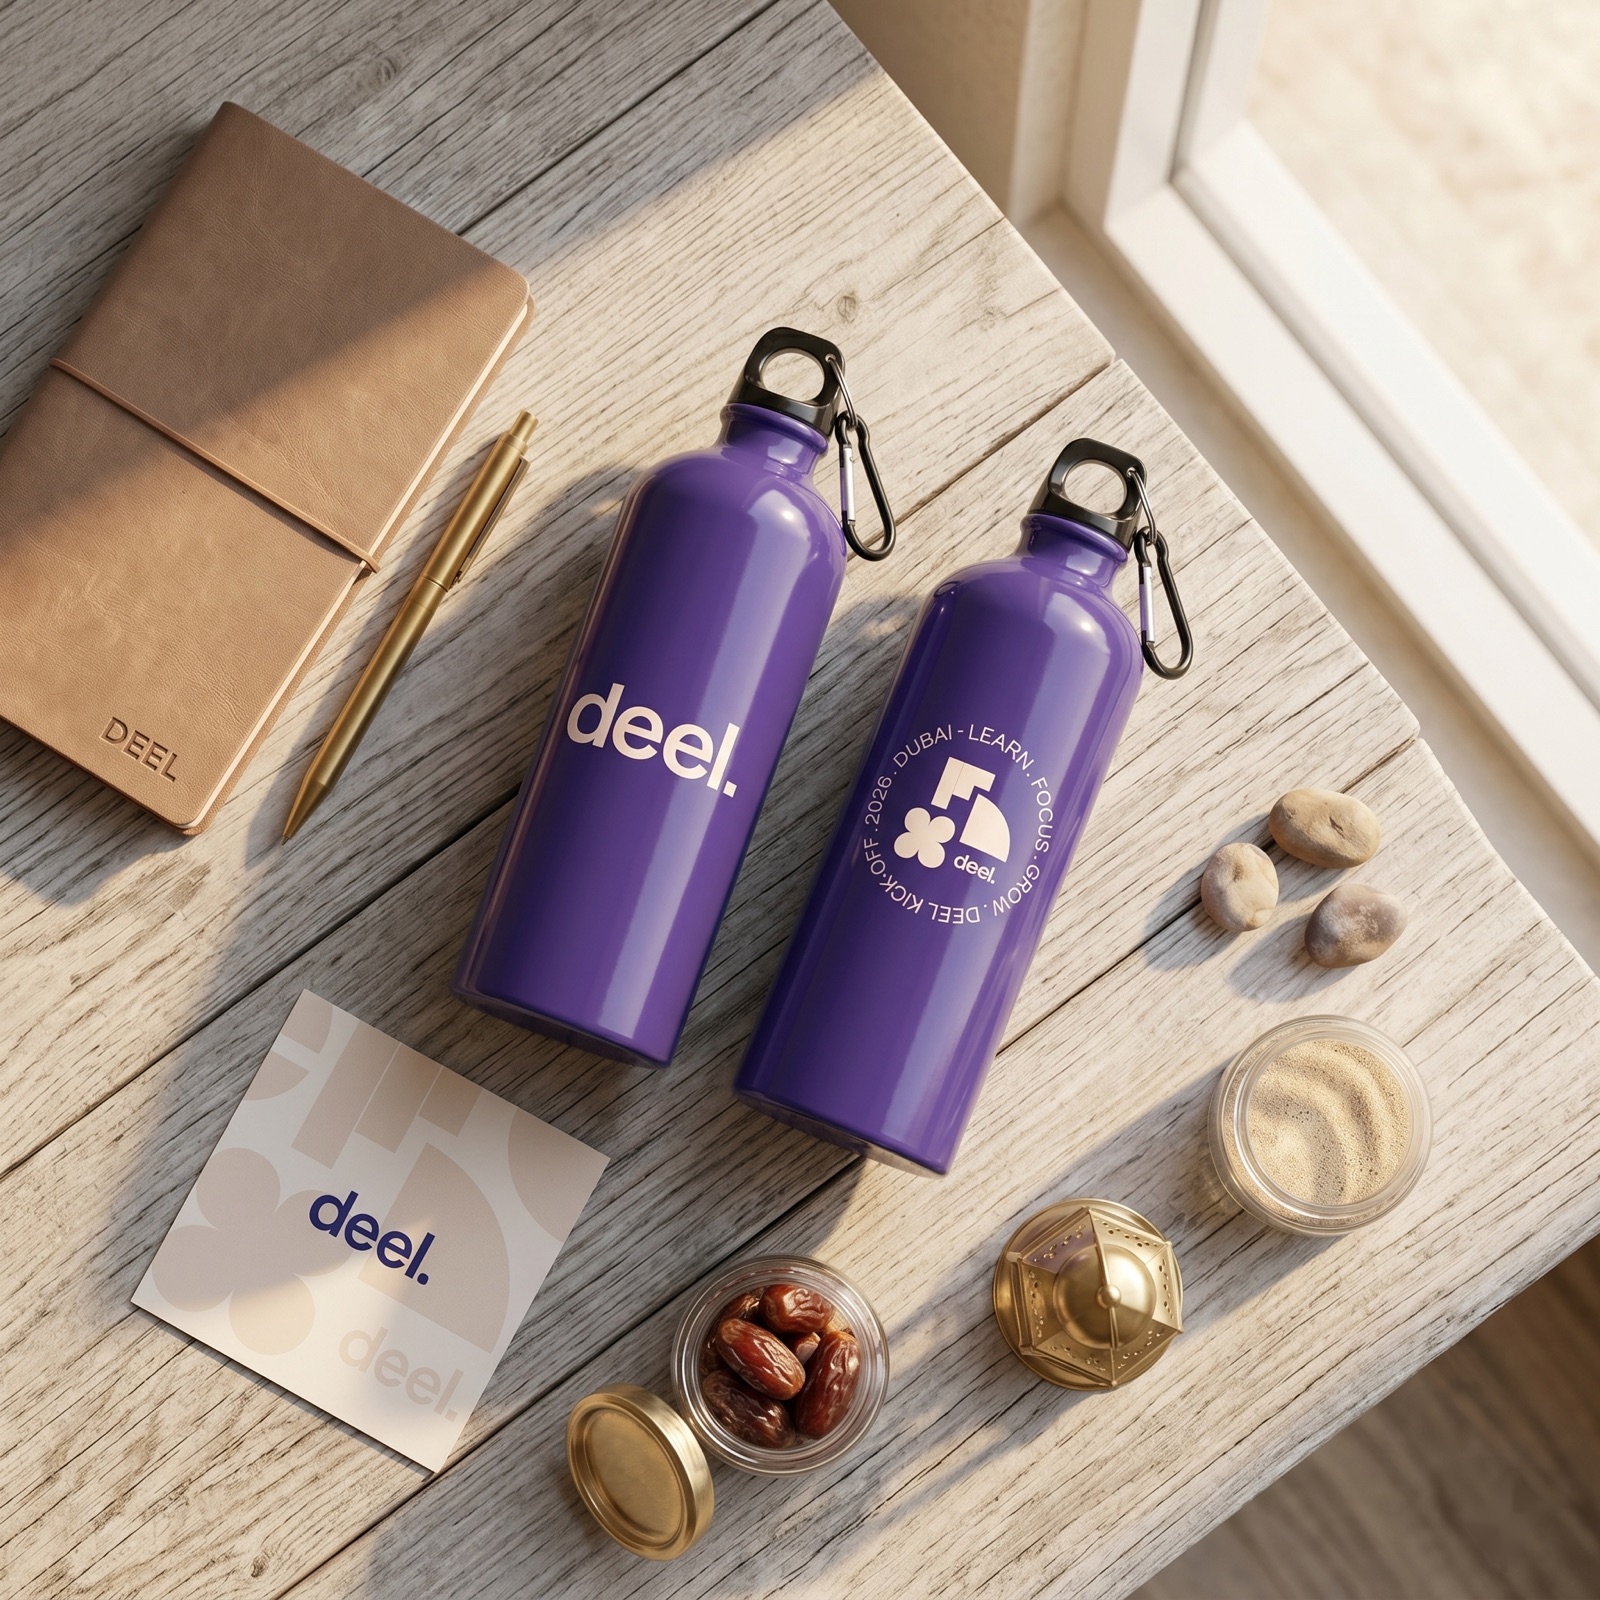
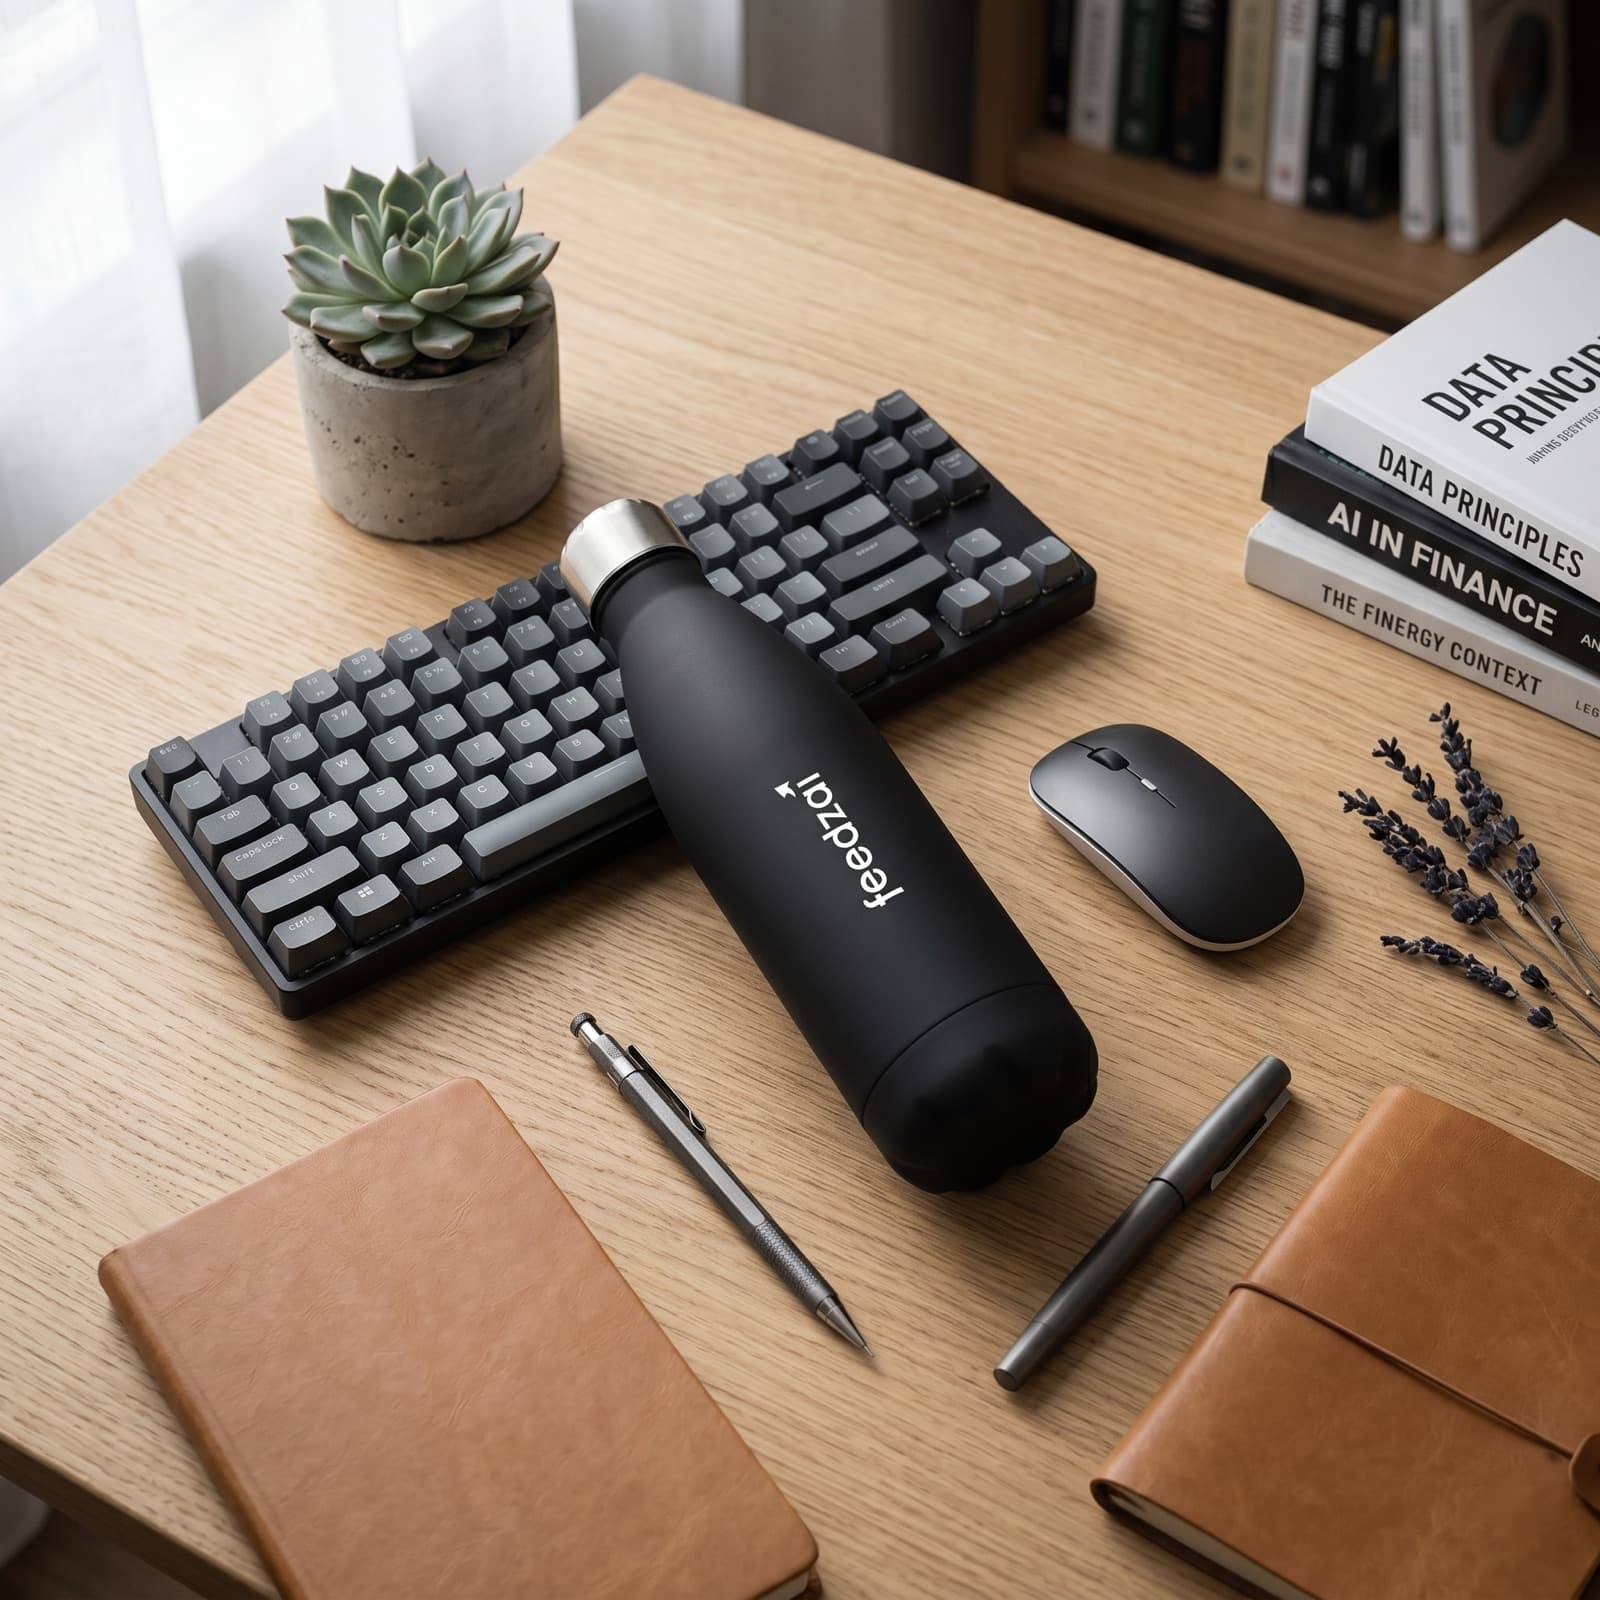
A purple aluminium custom water bottle, decorated for a brand.
Engraving vs print at a glance
The decoration choice drives most of your design decisions, so settle it early.
| Laser engraving | Printing | |
|---|---|---|
| Colour | None, single tone in the surface | Full colour, including wrap |
| Durability | Most durable, survives daily washing | Dishwasher-safe at Sunday |
| Look | Subtle, premium, tactile | Bold, expressive, brand-forward |
| Best for | Gifting, office, single-colour logos | Events, sports, coloured brands |
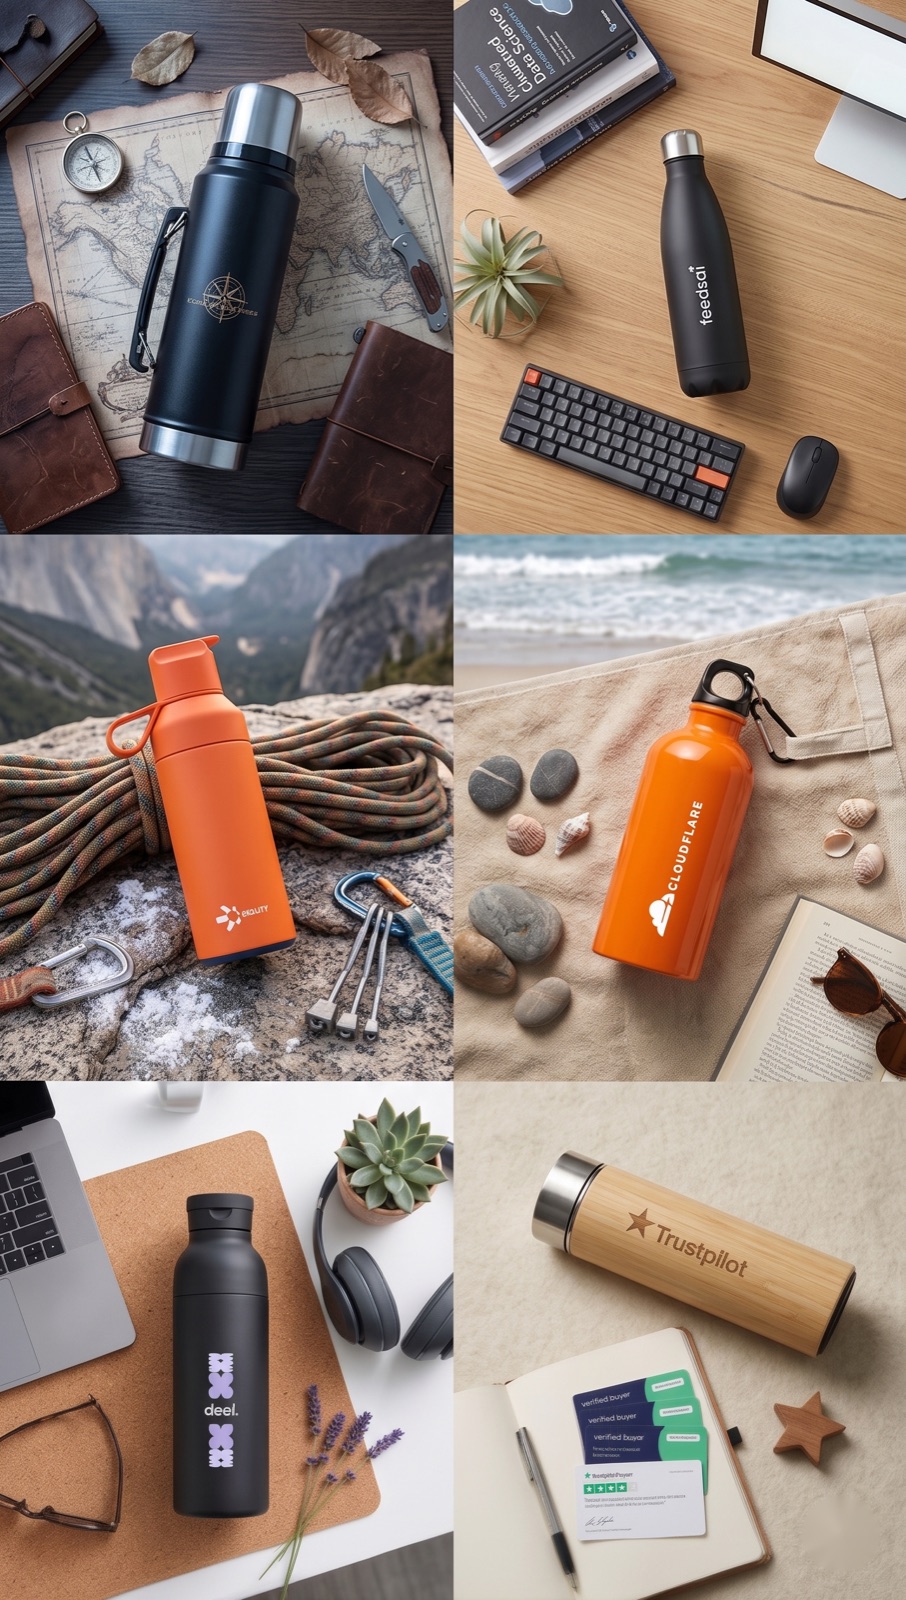
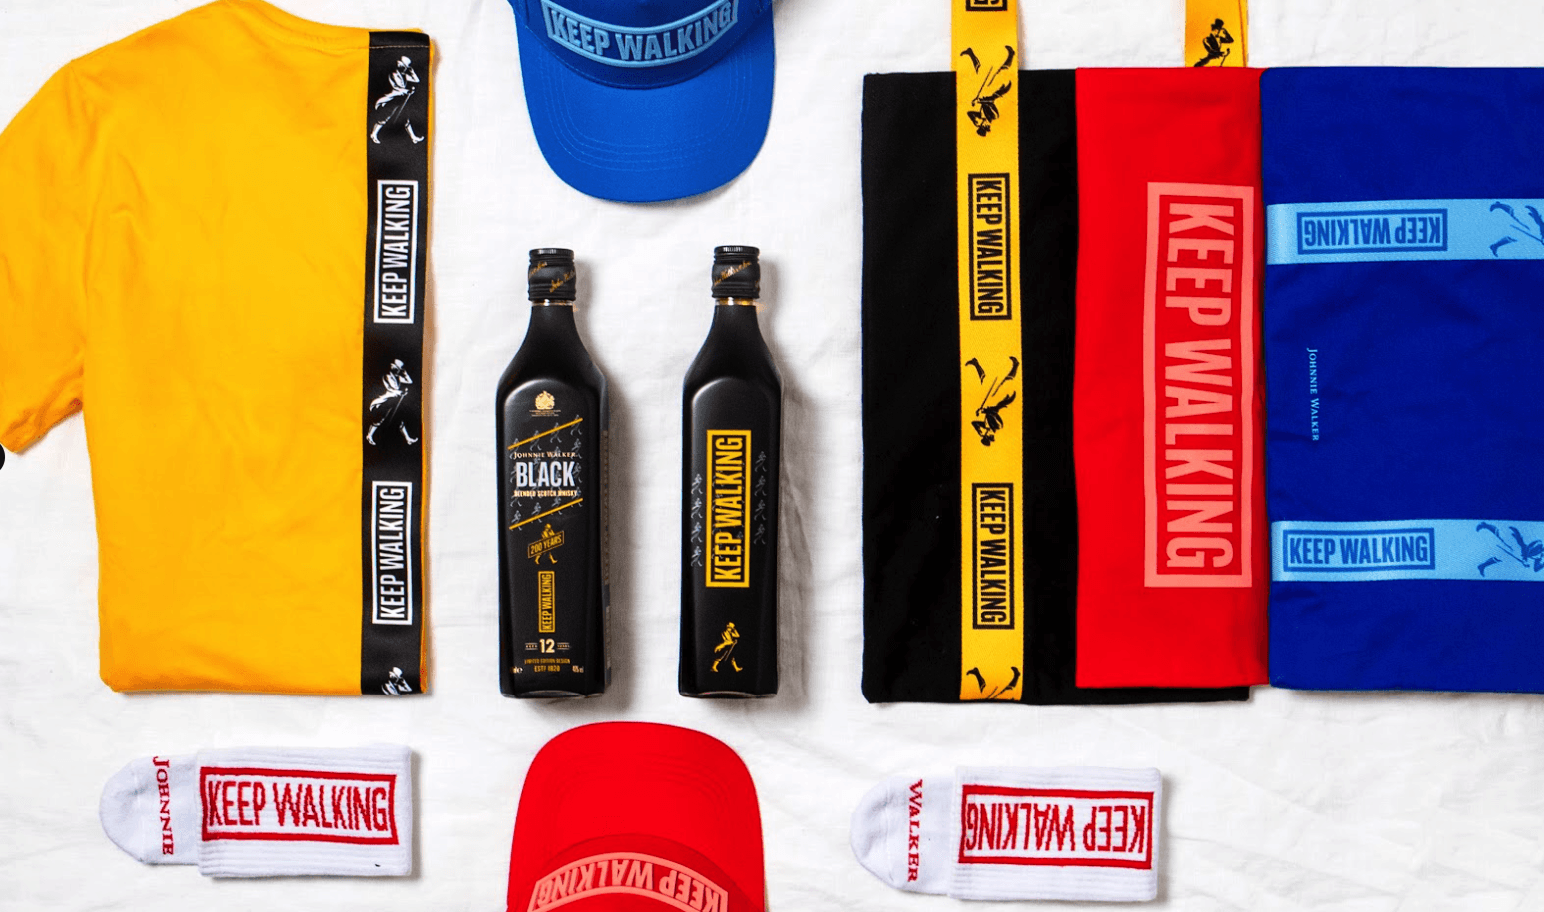
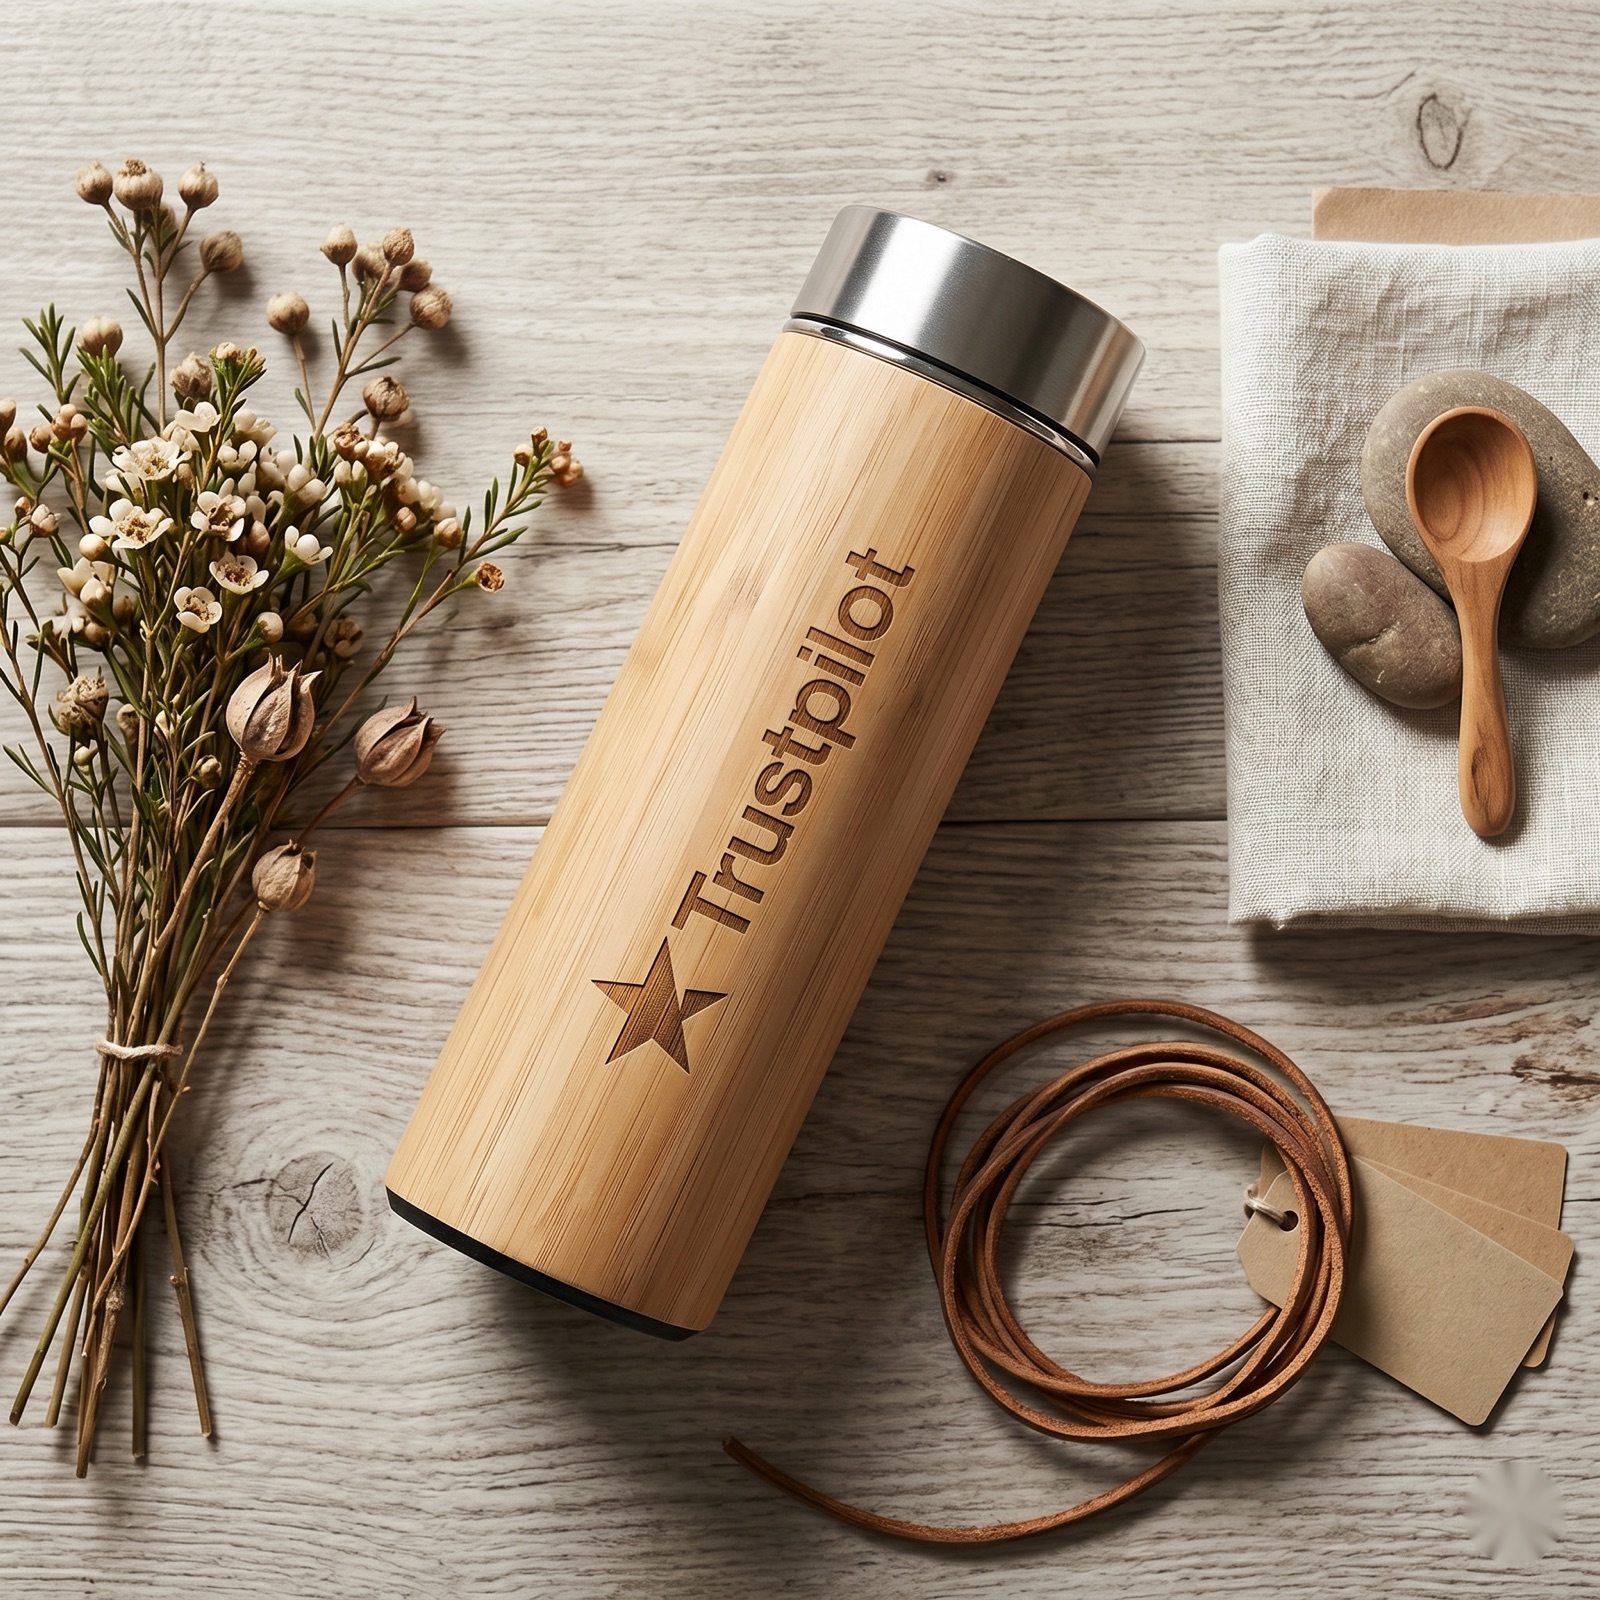
A collage of custom branded water bottles in different colours and finishes.
An orange insulated water bottle on a desk.
Once your design is ready, browse the full range of custom water bottles, see the wider catalog, or read how it works end to end.
Keep reading: custom water bottles
Design your bottle in 30 seconds
Create your account, drop in your logo and preview a real bottle in your colours with live pricing. Made in Europe, dishwasher-safe.
Get free designs