

Definition
A measurement guide is the set of instructions that tells you where to put the tape and how to hold it, so the numbers you produce mean something. A size chart gives you the numbers. A measurement guide gives you the method behind them. Skip the method and two people measuring the same chest will disagree by four centimeters.
Definition
A measurement guide names every point of measure, shows where it starts and stops, and states the posture, tension and unit to use. It covers both directions of sizing: measuring a body, and measuring a garment laid flat. Take chest width on a t-shirt. The guide does not say "measure the chest". It says: lay the shirt flat on a hard surface, smooth out the wrinkles without stretching the fabric, then measure straight across from one armhole seam to the other, 2.5 cm below the armpit. That level of instruction is what makes one person's 52 cm equal another person's 52 cm.
How a measurement guide works
Every guide is built on three things: a landmark, a path and a condition. The landmark is a fixed anatomical or construction point, like the high point of the shoulder, the armhole seam, or the natural waist. The path is the line the tape follows between landmarks, either straight across a flat garment or around a body. The condition is everything else that changes the result: tape snug but not compressing, subject standing relaxed with arms down, breathing normally, measuring over a thin layer rather than a winter coat.
Body measuring and flat measuring answer different questions and should never be mixed in one column. Body measurements capture circumference, so a chest is the full loop around the fullest part of the torso, under the arms and across the shoulder blades. Flat measurements capture half of that, plus the ease the pattern maker added. This is why a 100 cm body chest and a 52 cm flat chest can describe the same shirt. The guide has to say which one it is asking for, in the header, every time.
The last variable is the garment itself. Knits stretch under tape tension, so a jersey tee measured firmly reads bigger than the same tee measured with a relaxed tape. Ribbing pulls in and has to be measured unstretched to match the tech pack spec. Fleece and heavy GSM fabrics need the seams flattened before the tape goes down, or the pile adds a centimeter you did not order. Good guides call out these cases per product type instead of pretending one instruction fits a cap, a tote and a hoodie.
Measurement guides in branded merch
- Sizing surveys that hold up. When you ask 400 colleagues for their size, send the guide with the form. Ask them to measure a garment they already own and wear, laid flat, then match it. You get a size run built on centimeters instead of self-image, which is where most of the excess stock comes from.
- Quality control on the sample. Before a bulk run starts, someone measures the physical sample against the spec. If your guide and the factory's guide define chest width from different landmarks, you will reject a correct sample or approve a wrong one. Agree the method in writing first.
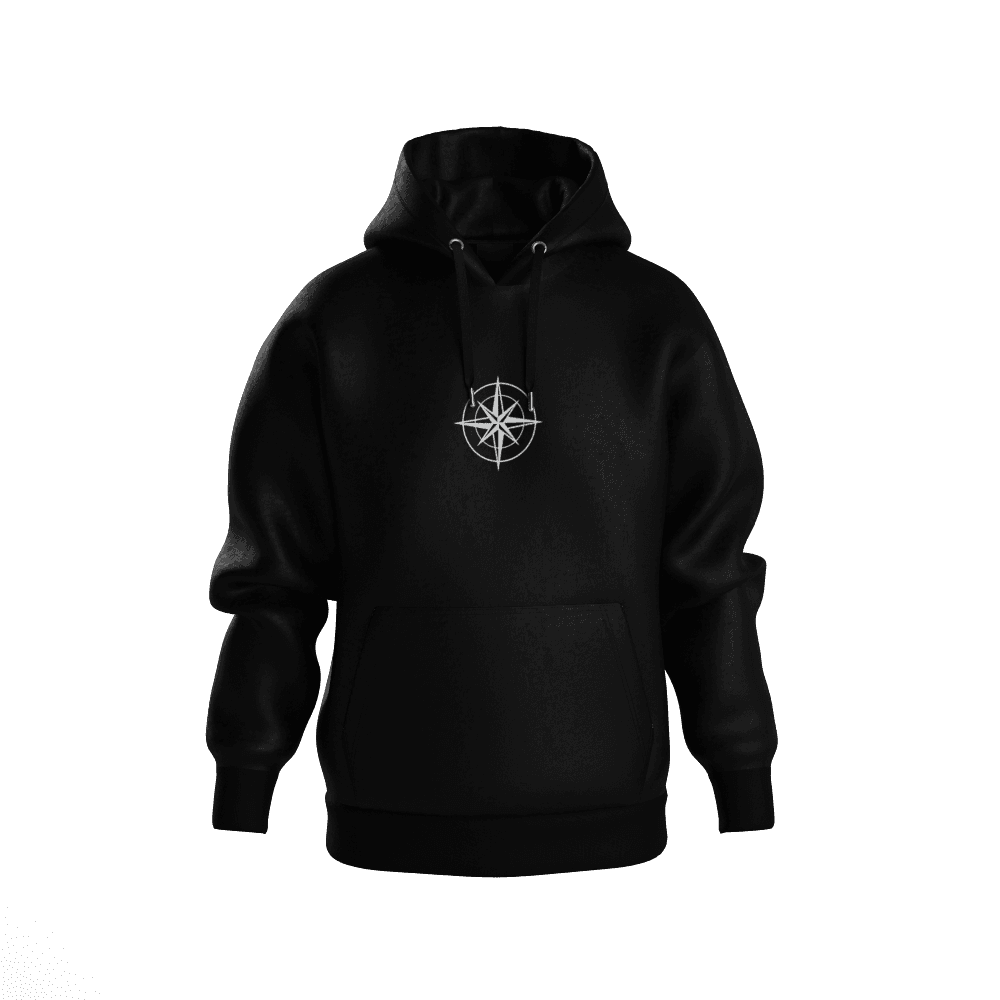
- Product pages and gift portals. A short guide next to each chart, with the three or four points that actually matter for that item, cuts returns more than adding extra sizes does. For a cap it is head circumference. For a hoodie it is chest width and body length.
A measurement guide is a step-by-step instruction that defines each point of measure and the exact tape technique used to capture it, so measurements are repeatable across people, products and factories.
5 tips to elevate your Measurement guide strategy
| Tip | Steps |
|---|---|
| Use a soft tape | A flexible tailor's tape follows a body and lies flat on fabric. A steel rule or a folding ruler will read short across curves. |
| Fix the landmarks | Write the start and end point for every measurement, including how far below the armpit or seam the tape sits. |
| Keep tension consistent | Snug enough that the tape stays put, loose enough to slide a finger under. Never pull a knit tight. |
| Measure twice, log once | Repeat each point of measure and take the second reading. The first is usually the one where the fabric had not settled. |
| Pick one unit | Publish everything in centimeters or everything in inches, and never round mid-chart. Mixed units cause more errors than bad tape work. |
Key Terminologies
Frequently Asked Questions
How do I measure chest size correctly?
For a body measurement, wrap a soft tape around the fullest part of the chest, under the arms and across the shoulder blades, standing relaxed with arms down. For a garment, lay it flat and measure straight across from armhole seam to armhole seam, roughly 2.5 cm below the armpit.
What is the difference between a measurement guide and a size chart?
A measurement guide explains the method: where the tape goes and how to hold it. A size chart is the output: a table matching those measurements to sizes like S, M and L.
Should I measure my body or a garment I own?
Measuring a garment you already own and like is more reliable for merch, because it removes the guesswork about how much ease you prefer. Lay it flat, measure it, then compare it to the product's chart.
How tight should the tape be?
Snug against the body or the fabric, with no compression. You should be able to slide one finger under the tape. Pulling tight adds false slimness on a body and false width on a knit.
Do I measure before or after washing?
Charts normally list pre-wash measurements. If the fabric has known shrinkage, ask the supplier for the post-wash figures, since that is the garment people will actually wear.