Definition
A print area is the defined space on a product where your logo or design can actually be decorated. Every item has one, and it sets the maximum width and height your artwork can occupy for a given decoration method. Get it right and your logo sits clean and centered. Get it wrong and your file comes back for rework before anything goes to production.
Definition
A print area is the bounded zone on a product surface that a decoration method can reach and reproduce cleanly. It is usually given as a measurement, for example 25 by 30 cm on the chest of a t-shirt or 8 by 5 cm on the side of a mug. Anything designed to fall outside that box will be cropped, rejected, or shrunk to fit. A tote bag might carry a large 30 by 35 cm front print area, while a pen offers a narrow strip only a few millimeters tall. The print area is what turns "put our logo on it" into an exact, buildable spec.
How a print area works
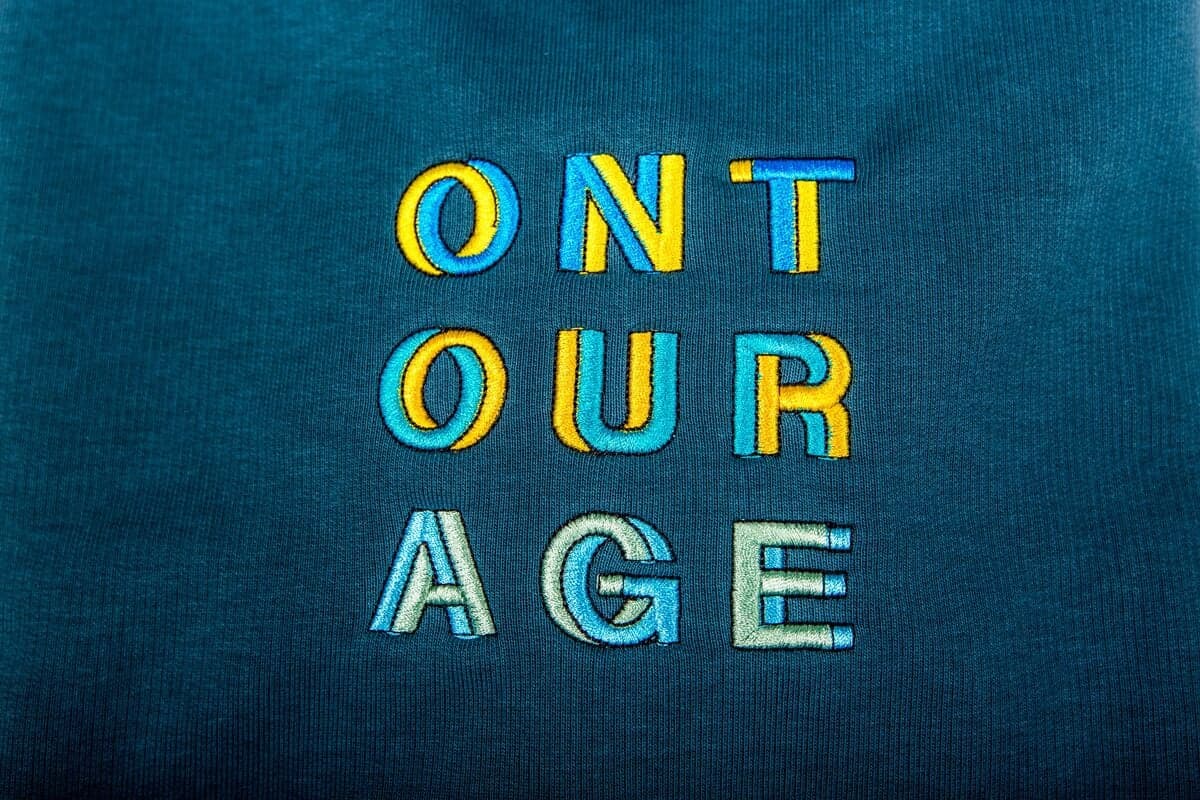
Each print area is tied to both the product and the decoration method. Screen printing on a flat t-shirt panel allows a wide area because the press platen holds the fabric flat. Embroidery on a curved cap crown is far more restricted, since the frame and stitch density limit how much surface you can cover. The same blank can have several print areas, front, back, left chest, sleeve, each with its own dimensions.
The area is defined by the physical limits of the machine and the shape of the product. Seams, zippers, pockets and curves all eat into usable space. A mug handle blocks part of the wrap. A hoodie pocket splits the front. Suppliers publish these zones as templates so your designer knows exactly where the safe boundary sits and how the artwork should be positioned inside it.
Print area also drives decisions about scale and legibility. A logo pushed to the edges of a small area loses fine detail, especially thin lines and small text. Leaving breathing room inside the zone keeps a design crisp. This is why print area, bleed and safe margins are always considered together. The area sets the ceiling, and good artwork is built to live comfortably within it rather than fight it.
Print area in branded merch
- Setting artwork dimensions upfront. Give your designer the exact print area for each product before they build the file, so the logo is sized to fit the first time and no reruns are needed.
- Choosing the right product for a design. A detailed, wide logo needs a garment with a generous chest area. A one-color icon fits almost anywhere, including pens, lanyards and small Pantone matched items.
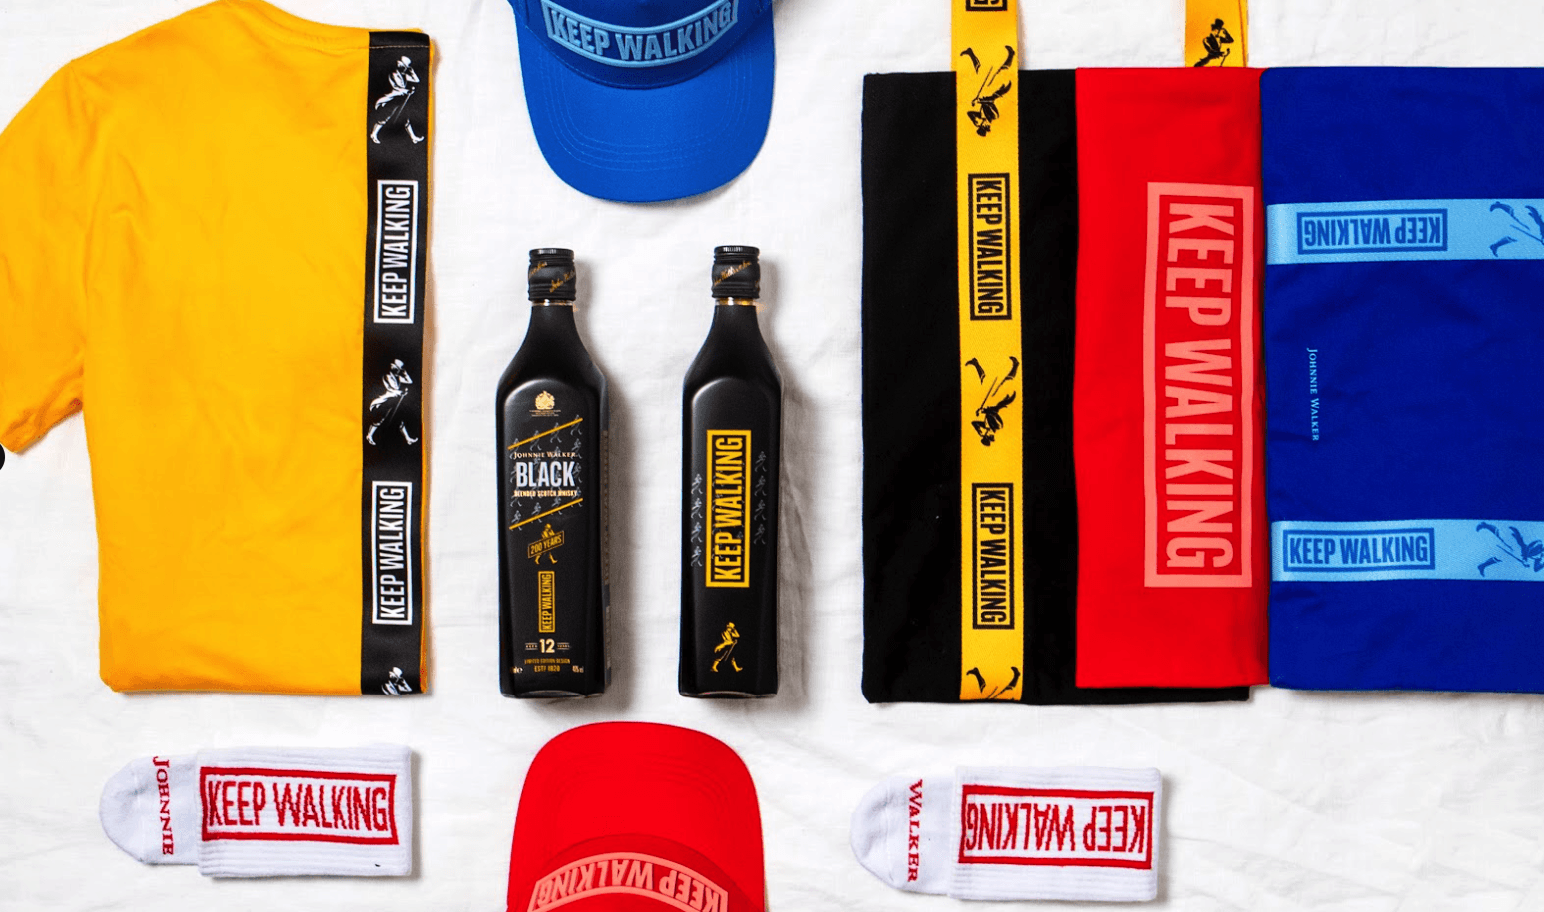
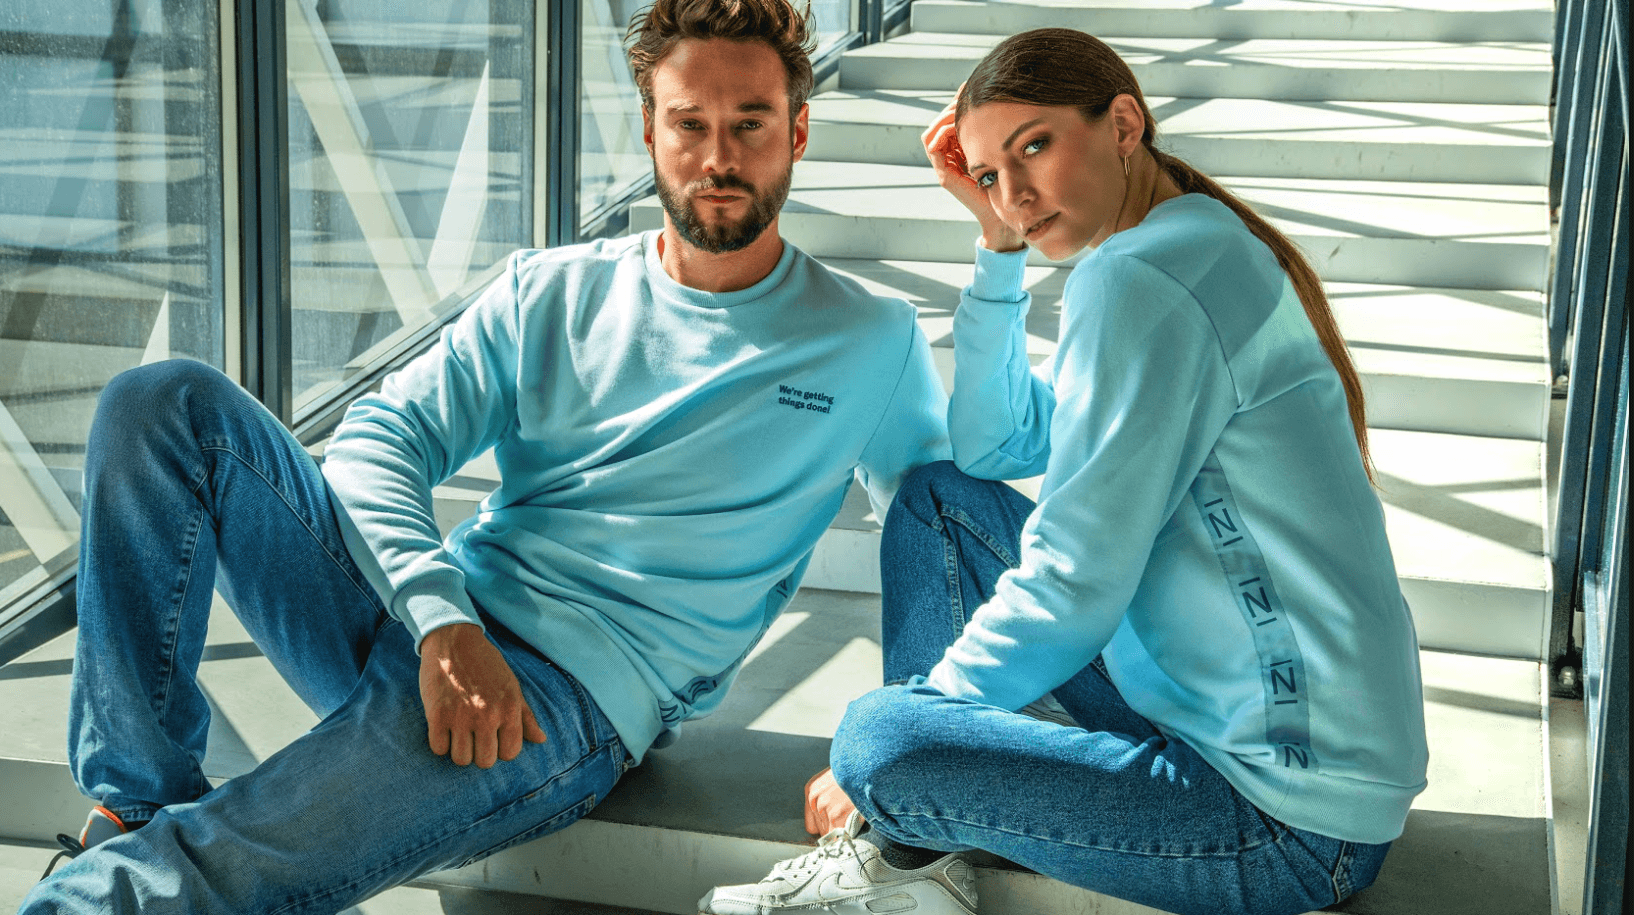
- Planning multi-position branding. Use separate print areas to place a main logo on the chest, a tagline on the sleeve and a website on the back, keeping each element sized to its own zone.
A print area is the maximum region on a product, expressed in width by height, where a logo or design can be applied with a specific decoration method.
5 tips to elevate your Print area strategy
| Tip | Steps |
|---|---|
| Ask for the template | Request the product print area template before designing, not after, so artwork is built to the correct dimensions. |
| Design smaller than the max | Keep a margin inside the print area so nothing clips at the edge if the item shifts slightly in production. |
| Match method to area | Pick a decoration method that suits the shape, using embroidery for small curved zones and print for large flat panels. |
| Check every position | Confirm the area for each placement separately, since a back print area differs from a left chest one. |
| Protect fine detail | Avoid cramming thin lines or tiny text into a small area, since detail is the first thing lost when scaled down. |
Key Terminologies
Frequently Asked Questions
What does print area mean on merchandise?
It is the maximum space on a product where a logo can be decorated, given as a width by height measurement. Any artwork must fit inside this zone for a specific method like print or embroidery.
How do I find the print area of a product?
Suppliers provide a print area template or spec sheet for each item and decoration method. It lists the exact dimensions and shows where the logo can be placed on the product.
Can a product have more than one print area?
Yes. Most garments and bags offer several, such as front, back, left chest and sleeve. Each position has its own dimensions and is priced and set up separately.
What happens if my design is bigger than the print area?
It will be cropped, rejected or scaled down to fit before production. That is why artwork should be built to the exact print area from the start to avoid delays and rework.
Does the print area change with the decoration method?
Yes. The same product can allow a large screen print but a smaller embroidery, because each method has different physical limits. Always check the area for the specific method you plan to use.