

Definition
Bleed is the extra area of a design that extends beyond the final trim line of a printed piece, so that once it is cut there are no unprinted white edges. It is usually a 3mm margin added on every side. Setting up bleed correctly is what separates clean, edge-to-edge branding from merch that arrives with thin white slivers along the border.
Definition
Bleed is the safety margin of color, background or imagery that runs beyond the cut line so trimming stays clean even when the blade drifts by a fraction of a millimeter. Take a standard business card at 85 by 55mm. You build the artwork at 91 by 61mm, adding 3mm on all four sides. Anything meant to reach the edge, a colored background or a full photo, is pulled out into that extra zone. After printing, the card is cut back down to 85 by 55mm and the edge looks perfect.
How bleed works
Three lines control any print layout. The trim line is the final size of the piece. The bleed line sits about 3mm outside it, and any background or image that touches the edge must reach that far. The safe area sits 3 to 5mm inside the trim line, where you keep logos, text and anything that cannot be clipped.
Bleed exists because cutting is never perfectly precise. Printers stack and slice many sheets at once, and the blade can shift slightly from the mark. Without bleed, that small movement exposes the white of the paper along one edge. By extending your background and images into the bleed, and keeping essential elements inside the safe area, you absorb that tolerance and every copy trims cleanly. It works together with crop marks, the fine lines that tell the cutter exactly where the trim falls.
The amount of bleed depends on the product and the process. Flat paper usually needs 3mm, while large-format and die-cut work often needs more. Wrapped, sewn and molded items like mugs, tote bags, packaging and woven patches need generous bleed because the forming and cutting are less precise than a paper guillotine. Supply artwork as a vector file where possible and check the DPI so the extended edges stay sharp at full size.
Bleed in branded merch
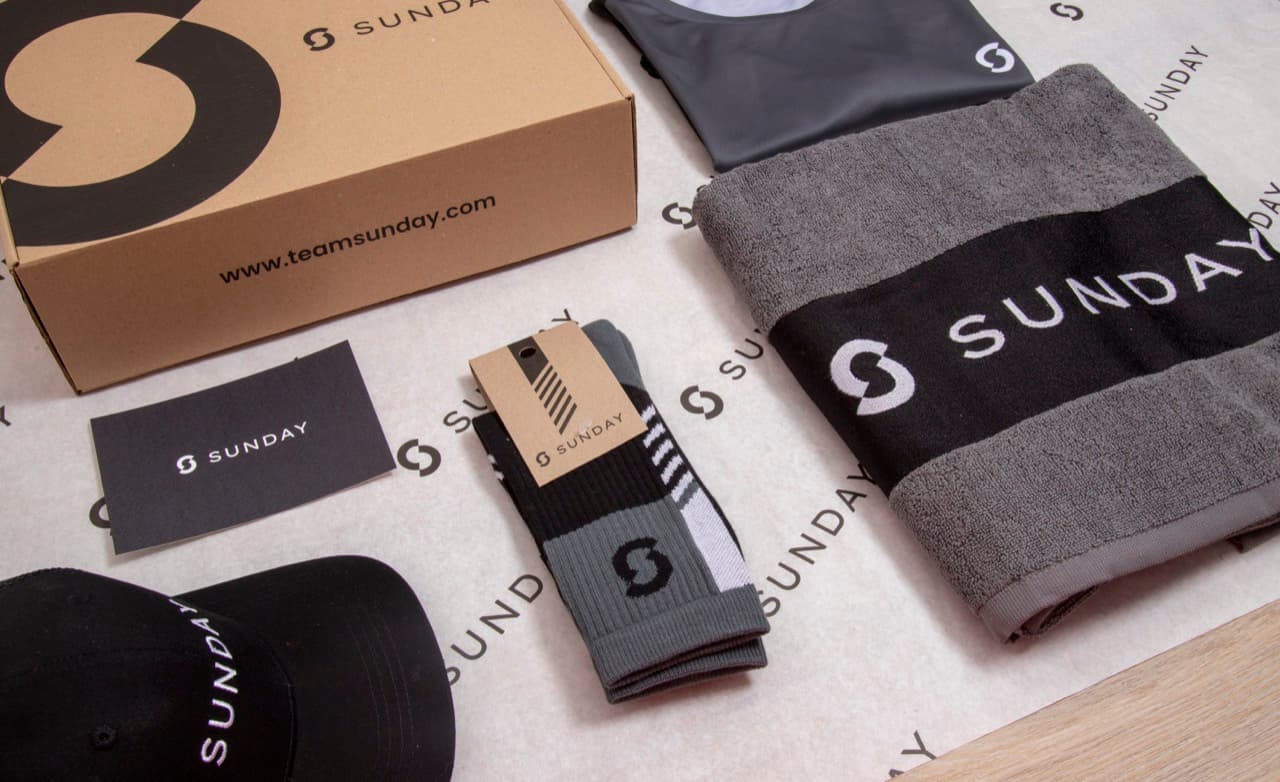
- Custom packaging and gift boxes. Branded mailer boxes, sleeves and card inserts are die-cut, so full-color designs need bleed on every panel and flap. Without it, raw board or white edges show at the folds and corners.
- Stickers, labels and patches. Kiss-cut and die-cut stickers shift a little on the sheet as they are cut. Extending the color into the bleed keeps the final shape crisp with no white halo around the artwork.
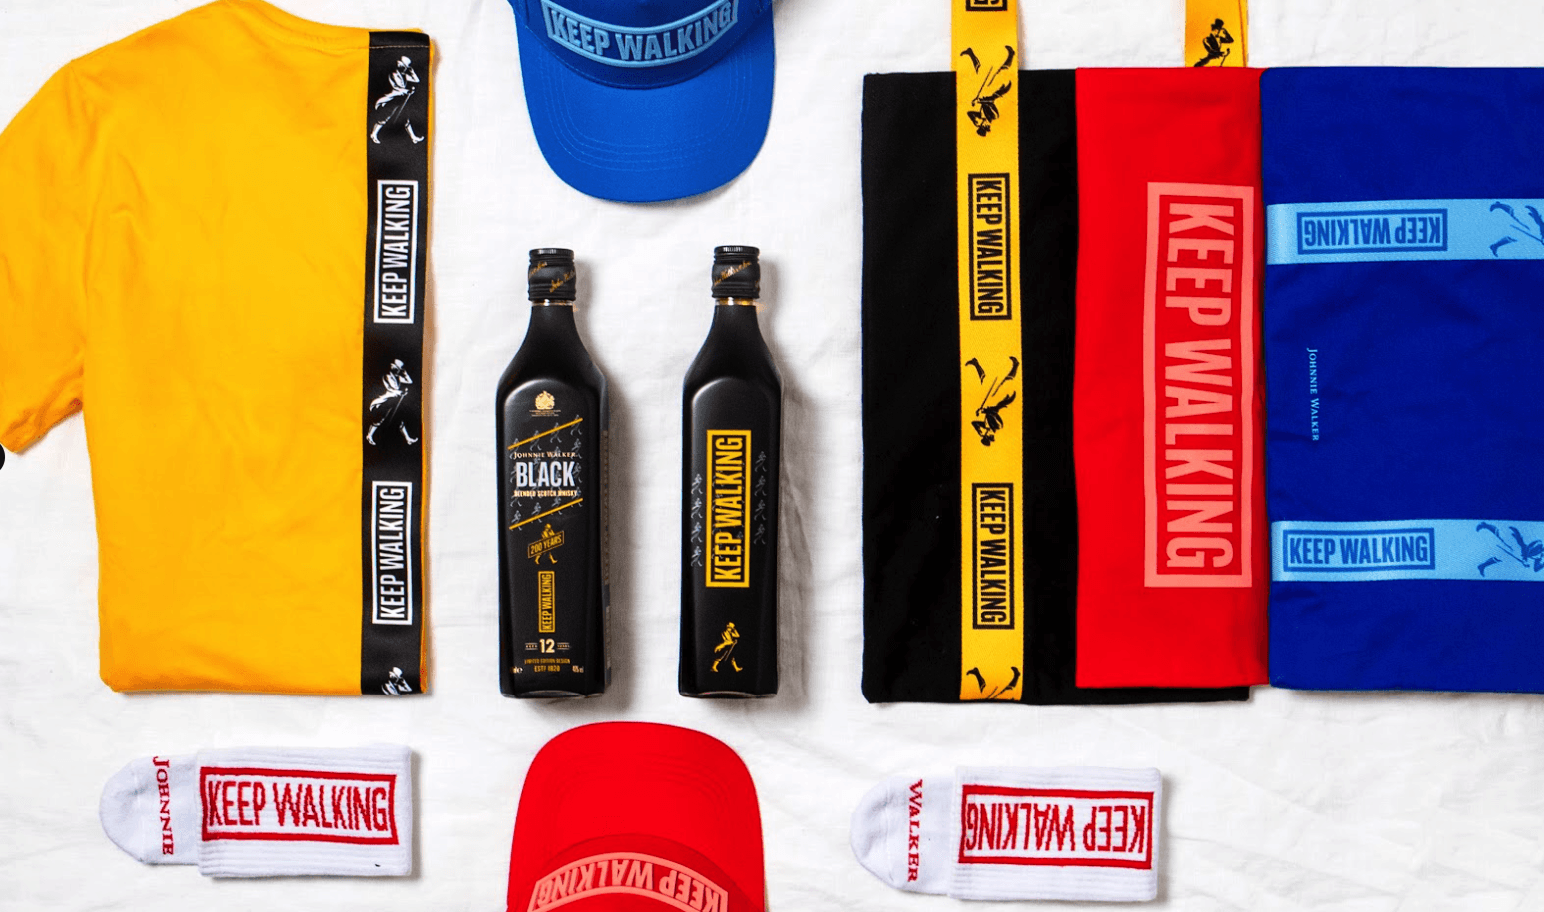
- All-over and edge-to-edge prints. Sublimated tees, bandanas, lanyards and notebook covers printed corner to corner rely on bleed so the design reaches the very edge or seam without a blank margin appearing.
Bleed is the strip of artwork printed past the trim line, typically 3mm on each side, so that cutting leaves no white edges on the finished piece.
5 tips to elevate your Bleed strategy
| Tip | Steps |
|---|---|
| Add bleed from the start | Set up your document with 3mm bleed before you design, not as an afterthought before export. |
| Extend, do not stretch | Pull backgrounds and photos into the bleed by extending them naturally, so nothing looks distorted at the edge. |
| Respect the safe area | Keep logos, text and key details 3 to 5mm inside the trim line so they never get clipped. |
| Export with marks | Save print files as PDF with bleed included and crop marks switched on. |
| Ask about product-specific bleed | Confirm the required bleed for wrapped or die-cut items, since it often differs from flat paper. |
Key Terminologies
Frequently Asked Questions
How much bleed do I need?
The standard bleed for flat paper products is 3mm on each side. Large-format, die-cut and wrapped items often need more, so always confirm the exact amount for your specific product.
What is the difference between bleed and safe area?
Bleed is the extra artwork outside the trim line that gets cut off. The safe area is the inner margin inside the trim line where you keep text and logos so nothing important is clipped.
What happens if I forget to add bleed?
Any small shift during cutting will expose thin white edges along the border, or force the printer to scale and re-crop your file, which can throw the layout off center.
Do all products need bleed?
Only designs that run to the edge need bleed. If your artwork has a built-in white or colored margin, bleed matters less, but adding it is still the safest habit for print-ready files.
How do I add bleed in my design file?
Set the document bleed to 3mm in your design software, extend edge elements into that area, then export as a PDF with bleed and crop marks included.